 English
 Arabic
 Danish
 Dutch
Dutch
 Finnish
 French
 German
 Hebrew
 Italian
 Japanese
 Norwegian
 Polish
 Portuguese
 Spanish
 Swedish
 Russian
10 Essential Necklace Photo Retouching Tips - Pro Guide
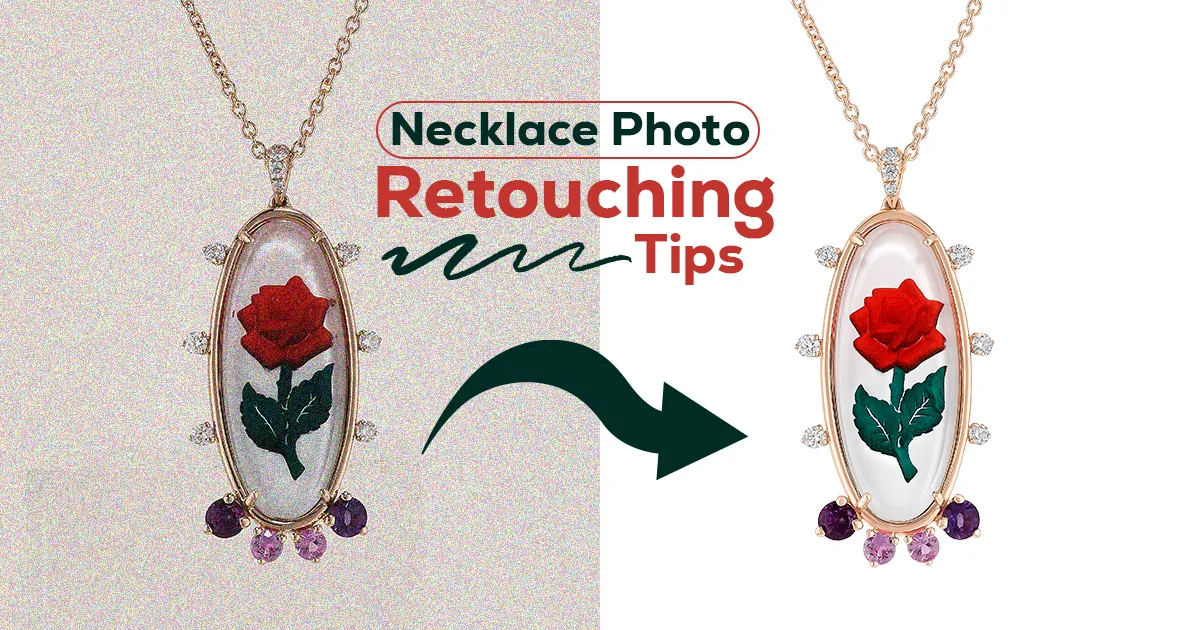
Necklace jewelry editing is considered one of the hardest among photo enhancement services. The chain, the gems, the design, the reflective surfaces, and the cord that wraps around the neck need precise retouching to shine and attract attention. You must master essential jewelry editing skills to improve visuals, engagement, and conversion.
In this article, I will share 10 easy necklace retouching tips to perfectly remove every flaw and make the jewelry products pop in the image. Continue reading and follow the step-by-step process to edit jewelry like a pro.
Why Necklace Photo Enhancements Matter
Raw necklace images are full of details but not visually appealing. Here's what necklace jewelry editing can do to your image.
- Clean and Polished Look. Retouching jewelry in Photoshop removes dust, dirt, scratches, spots, and camera noises. Ensure your necklace looks clear and glossy.
- Correct Color. Jewelry editing corrects color, lighting, and white balance. Ensure your necklace color is accurately portrayed.
- Free of Distractions. Jewelry product photo retouching adds or removes props and backgrounds. Ensure the audience stays focused on the necklace and leverage its stunning design.
- Bring Out Necklace's Uniqueness. Polish the gems and intricate designs to highlight the details and showcase its unique points.
- Consistency in All Products. Creatively retouch highlighting brand image. Ensure all products in the listings look consistent and easy on the eyes.
- Visual Appeal. Professional necklace photo editing turns raw images into stunning visuals. Enhance customer trust, engagement, conversion rate, and sales.
Invest in high-quality jewelry retouching services. Improve not only the beauty of the product but also brand awareness, customer trust, and sales rate.
10 Necklace Photo Retouching Tips - Produce Captivating Visuals
Follow these essential steps for retouching necklace jewelry images.
Start with High-quality Raw Images
Before necklace jewelry photography editing, ensure that all your images are taken in RAW mode. It will help you capture all the details and highlight them in the necklace retouching session.
How to take stunning Raw jewelry shots:
- Decorate the setting. Use a flat-lay or mannequin to place the necklace. If necessary, decorate it with relevant props to capture the image. Ensure the necklace is in the focus.
- Use softbox and diffused lighting to soften the lights on the subject and minimize strong shadows.
- Go to your camera settings and change it to raw mode. It will give you greater control over the ISO, aperture, shutter speed, white balance, and other settings and captivate all the image data in your camera frame.
- Use a macro lens for detailed close-up shots.
Take Your Image to Photoshop and Scan for Flaws
Take your high-resolution raw files on Photoshop. Zoom in and scan the issues. If the issues are simple and easy to remember, you do not have to note them down. However, if the image has a lot of issues, take notes. For instance, lighting correction, color correction, shadow adjustments, polishing the necklace, and more. Retouch the issues one by one and mark them as done.
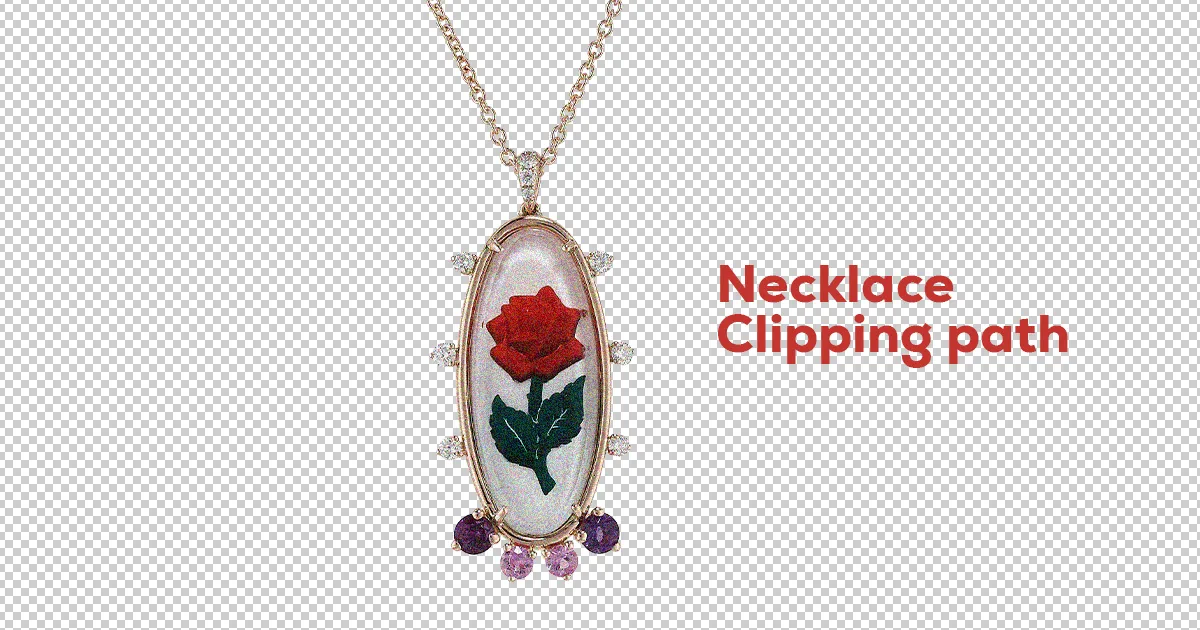
The First Step of Necklace Retouching: Clipping Path
A clipping path is performed to isolate the subject by cutting out unnecessary elements. You can clip your necklace easily with a pen tool.
- Go to the toolbar and choose the pen tool. Click on a necklace corner edge to create an anchor point. When the anchor point is created, continue anchoring the subject till the full necklace is selected.
- Go to the layers and select "Paths".
- Double-click on the necklace's path. A dialog box will open. Rename your path and save it.
- Hurray! Your necklace jewelry clipping path is completed.
The necklace clipping path process needs precision and time. However, the final results will astonish you.
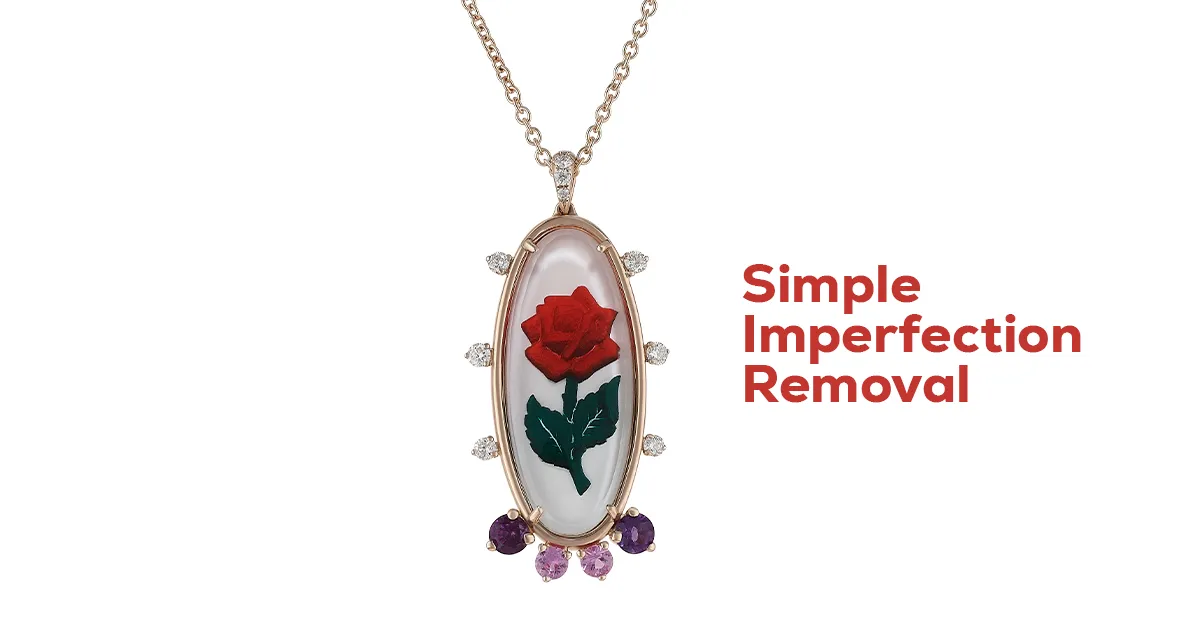
Even if you clean your jewelry before the photoshoot, it may catch some fingerprints, dust, and dirt. Also, the jewelry may have some scratches and spots. Thus, you need to clean the jewelry to ensure all minor imperfections are retouched. Use the Spot Healing Brush Tool, Clone Stamp Tool, and Patch Tool to clean the jewelry. It is super easy. I will tell you how I perform jewelry photo editing with the "Clone Stamp Tool.”
- Go to the toolbar and select the "Clone Stamp Tool”. Zoom in to see the imperfections better.
- Select a perfect tone to replicate.
- Brush over the area to remove dust, dirt, and fingerprints.
- For scratch and spot removal, ensure it does not look too retouched but is natural.
- Zoom out to see whether the necklace looks clean or not.
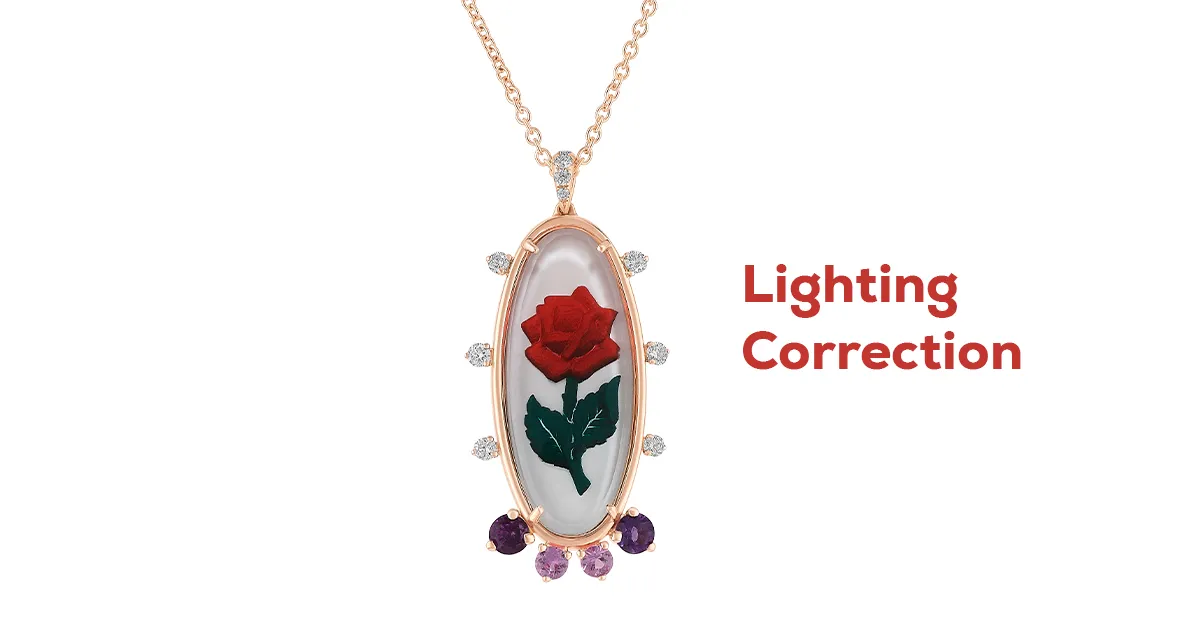
Fine Tune the Lighting
Adjust exposure and contrast to correct the lighting. Ensure the image lighting looks well balanced, increasing the shine and texture. While adjusting the exposure, bring out the necklace details. However, ensure the highlights are not too retouched. Perform contrast adjustments to ensure the jewelry stands out from the background.
Upon adjusting the exposure and contrast while jewelry editing, ensure the lighting and necklace details look well-balanced.
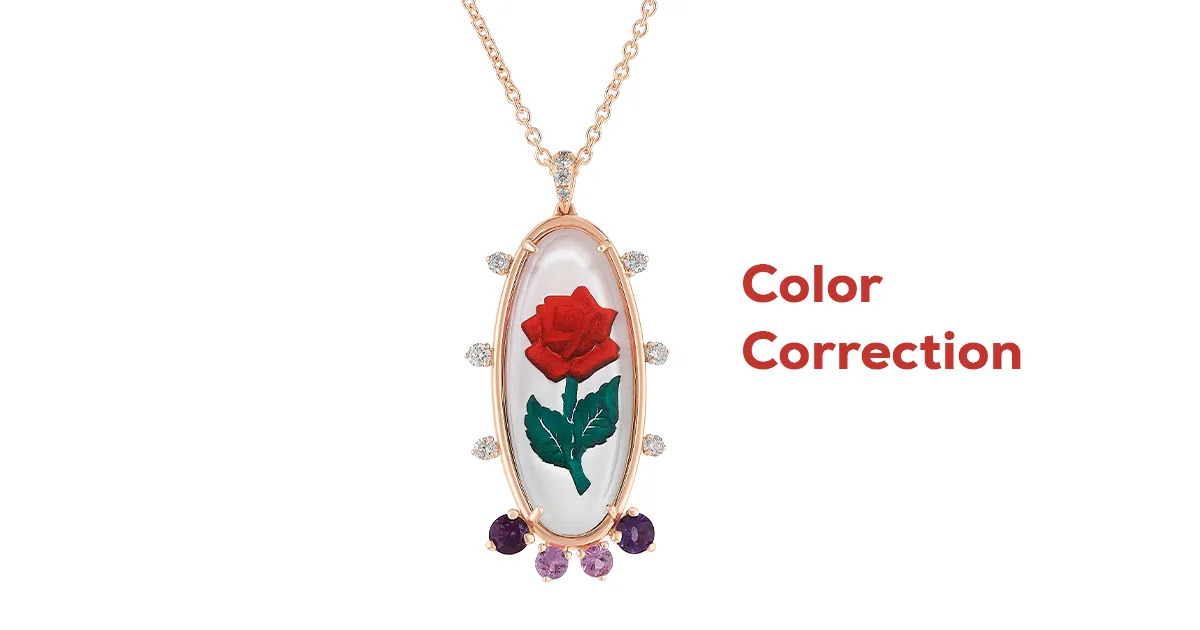
Correct Color and White Balance
Unrealistic jewelry colors are an eye-sore to the audience. Realistic product color builds customer trust and loyalty. You must accurately color while retouching jewelry in Photoshop. Ensure the necklace looks eye-catching and realistic.
First, fix the white balance to ensure all the orange and yellow color casts are gone. Bring the necklace tone's (Silver, Gold, or Rose Gold) true color with the "Clone Stamp Tool". Retouch gemstone hues to drive its true color. For example, silver-colored gemstones need to look their natural color. Ensure the jewelry color and lighting look well-adjusted.
To ensure the real-life product and image look the same, compare them. The more realistic the jewelry looks, the better customer trust it will build. As a result, your sales and customers will also increase.
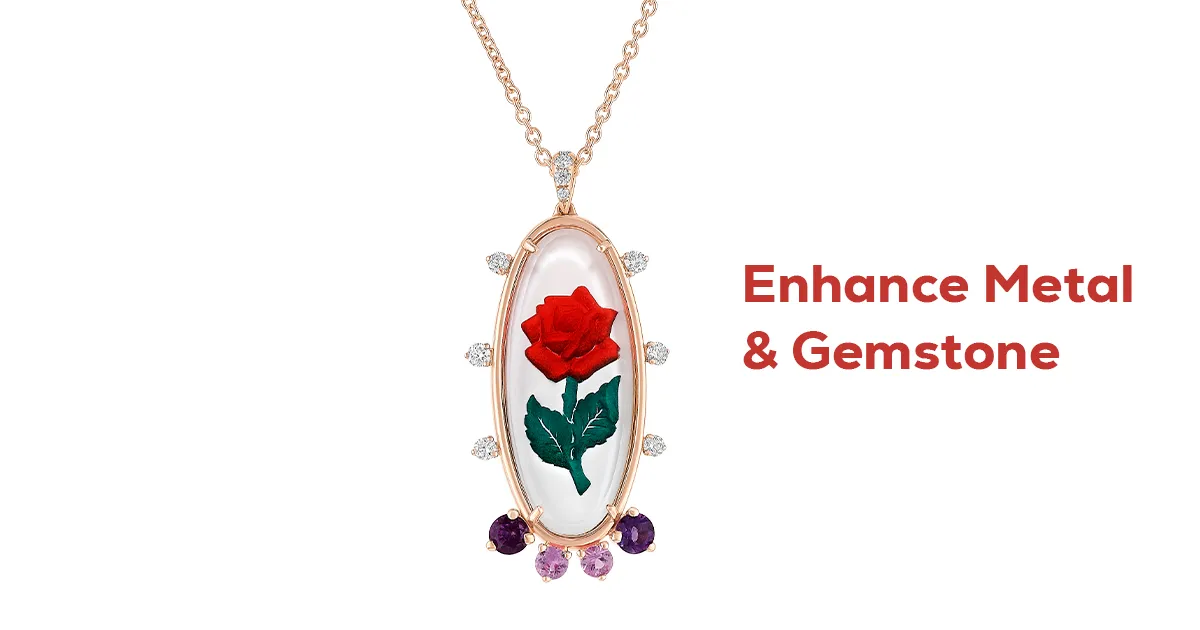
Enhance Metal and Gemstone Elegance
Most chains are made of metal and gemstones in various colors. It is tricky to pop the metal and gemstones of the necklace. However, I am here to help you.
- Use the "Brush Tool" to polish the jewelry.
- Use the "Dodge Tool" to brighten the highlights and bring out the natural reflections of the gemstones.
- Use the "color dodge" to enhance the sparkle.
There you go; your metals and gemstones are polished.
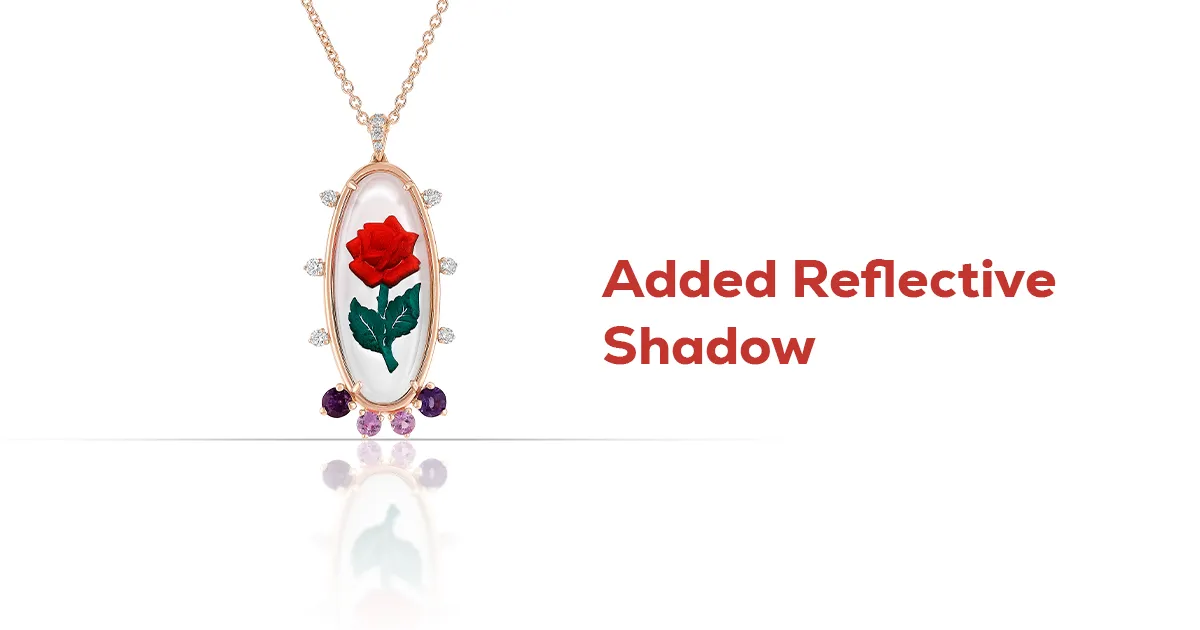
One of the important necklace photo retouching tips is, adding shadow to enhance depth. Not only does it make the necklace eye-catching, but it is also super realistic.
Reflective and natural shadows are usually used for jewelry images. It varies when you should use which shadows. For example, if you have taken jewelry images on a reflective surface, go for reflection shadow. Conversely, if you have taken images on a white background, go for natural or drop shadow.
You can add natural shadow with the "Transform Tool". Ensure the shadow is well-balanced with the necklace.
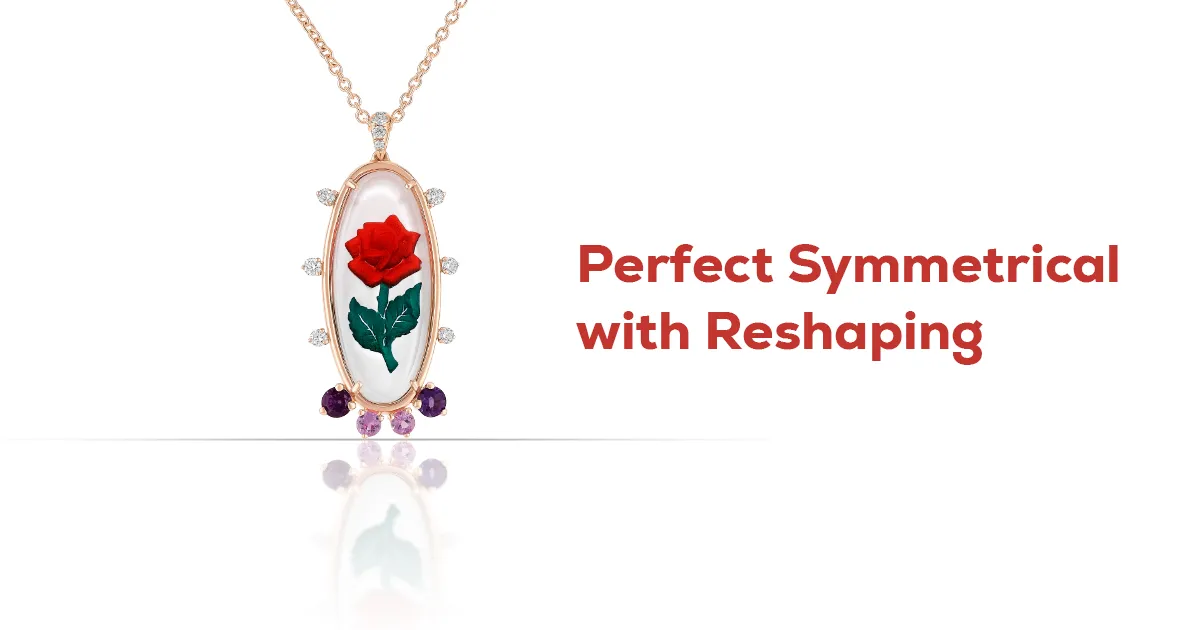
Fix The Necklace Shape and Symmetry
Often, jewelry images do not look perfectly symmetrical and do not show the right shape. Thus, you need to correct the shape and symmetry to increase realism.
Perfecting necklace symmetry and shape in professional necklace product photo editing is easy. Use the "Liquify Tool" to reshape the necklace. Ensure the necklace does not look unrealistic or weird. Align the necklace using a guide and rulers and make it symmetrical. Ensure the proportions look natural. Zoom out to see whether the necklace shape matches the real jewelry or not.
Adjusting symmetry and shape in jewelry editing is essential to create consistent images for your brand.
Optimize Necklace Image for the Web
Once your necklace looks polished and visually appealing, it is time to SEO-optimize the image for the search engine ranking.
Here is how you can optimize the image for the web:
- Resize the image according to your publication platform. For example, on Facebook, a profile photo should be 360x360, the cover photo should be 820x312, an image post should be 1200x630, and more photo sizes. The same goes for Instagram, LinkedIn, and Websites.
- Keep the file size under 200 KB, ensuring visual quality. The less the file is, the faster your image will load.
- Format the image according to what your desired platform supports. For instance, most websites support JPEG, JPG, PNG, and WebP the best.
- Save the image with relevant keywords so that search engines understand what your image is about and rank it in image search.
Final Verdict
Were you able to retouch your necklace image using our necklace photo retouching tips? If yes, I am glad. At first, professional necklace photo editing may seem challenging. However, with practice and dedication, you will get faster soon. Keep practicing and enjoy the high-end jewelry retouching process.
If you are busy handling clients and bulk projects and do not have the time to retouch the images, contact Perfect Retouching company. We have 8+ years of experience in the photo retouching industry and have satisfied clients worldwide. Our agency is known for on-time delivery with perfection. We understand your necessity and will deliver visually captivating images in our promised time. Our client portal is super easy to use. Take our free trial today. If you like the results, consider hiring us. That's it for today. Adios!


