 English
 Arabic
 Danish
 Dutch
Dutch
 Finnish
 French
 German
 Hebrew
 Italian
 Japanese
 Norwegian
 Polish
 Portuguese
 Spanish
 Swedish
 Russian
Pro Real Estate Photography Tips: Stand Out in Your Listings
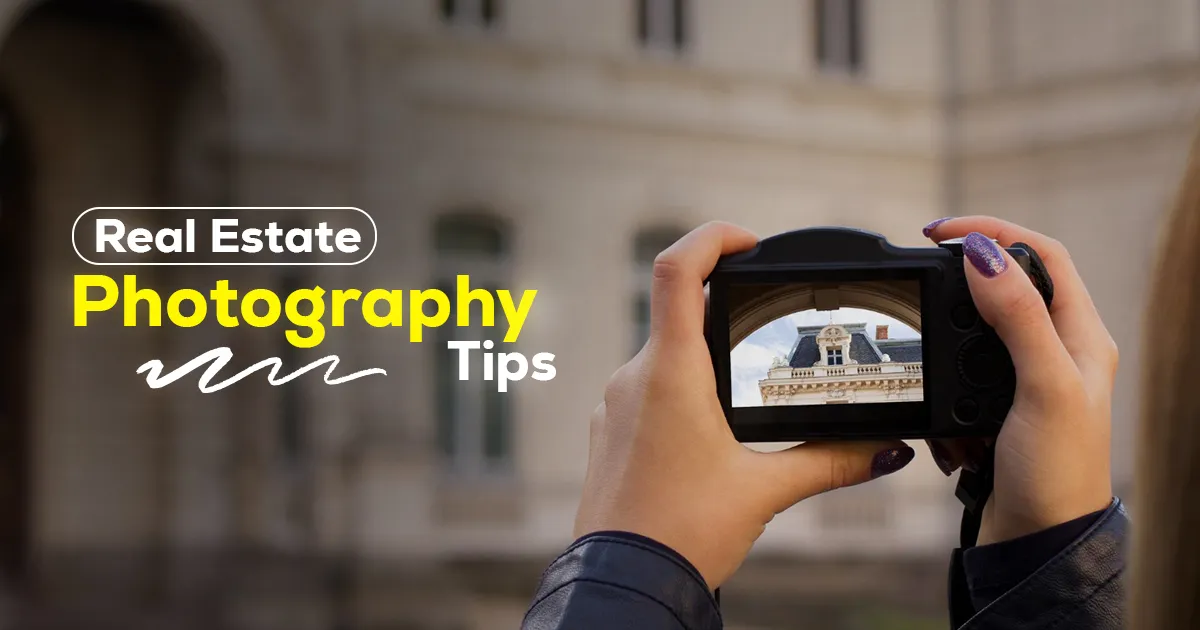
Professional property photography is challenging. Complex lighting conditions, large spaces, proper framing and compositions, and distractions make it harder to capture stunning property Photos. So, how can you make your real estate photography successful? With the right strategy.
In this article, I will tell you 9 proven real estate photography tips. How to organize equipment, photograph property, edit the images, and market your property listings like a pro. Let's Begin!
9 Real Estate Photography Tips - Capture Stunning Property Photos That Attract Buyers
Follow this professional property photography guide. Take high-quality estate photos and stand out in your listings.
Prepare Your Property As It Will Appear on the Red Carpet
A well-decorated property looks attractive and helps potential buyers build emotional connections and visualize themselves living there. Here is how you can make your property spotlessly beautiful.
- Remove Elements That Scream "Someone Else's House". You need to hide family photos, pet bowls, chargers, cords, toiletries, and other personal items. These may distract them from the subject and make them feel like they are looking at another's house.
- Clean The House. Spotlessly clean the corners, furniture, windows, and floors to ensure the house looks dust-free and stunning.
- Go for Minimalistic Home Decor. Change the bed sheets, towels, and other furnishings to neutral colors like white. Add plants and flower vases to bring life to the atmosphere.
- Arrange Books and Tables. Do not leave the bookshelves and other spaces empty. Add necessary elements that will allow viewers to imagine Oh! I can organize my bookshelves like this.
- Decorate the Exterior. The exterior is just as important as the interior. Clean the lawn, hide garbage bins, wash the driveway, and remove unnecessary elements that may drop your visual appeal.

Photoshoot in Ideal Lighting
Do your photoshoot when the lighting is in its best condition. When is that? There are three ideal times for real estate photography.
- Golden Hour. The hour before sunrise and sunset is called the golden hour. At these times, the lighting looks golden, soft, and flattering. I highly recommend capturing high-quality property images in the golden hour, as you will not have to do real estate sky replacement in Photoshop.
- Late Morning or Early Afternoon. Do not take images in the direct midday sun. It may make the pictures look all-white and cast strong shadows.
- Cloudy Days. Clouds create a nice view of interior images. Your high-quality property images will have no glare and no harshness.
Avoid taking real estate images when it is:
- Too Sunny. Do not schedule your real estate photo shoot in direct sunlight.
- Raining. The images will appear darker. You will not be able to capture exterior images. Altogether, the image will not look presentable.
Be Prepared with Necessary Equipment
Set up your equipment to capture stunning property photos.
High-quality Camera: DSLR or Mirrorless cameras are the best cameras for property photos. You can capture detailed property shots at dynamic range.
Lenses: Property image lenses are different. Use a 16-35mm wide-angle lens to show the space beautifully with minimal distortion.
Tripod: A tripod is essential for capturing high-quality property images in low light and High Dynamic Range (HDR) Blending.
Flashlights with Diffusers: Use flashlights to brighten the dark corners and maintain color consistency throughout the room.
Drone and 3-Axis Gimbal: Set the drone on the 3-axis Gimbal. Capture stunning photos from top-down, Dutch-tilt, pullback, and 360° shots.
Wireless Remote Triggers: You can take handheld shots. However, I highly recommend wireless remote triggers to capture stunning, stable property images from a distance.
Compose Your Shots
The right interior real estate photography composition and framing guide viewers' eyes to the space and tell its stories.
- Place the Camera According to Your Chest Height. This will create a natural feel in the room and help the buyers enjoy the view from eye level.
- Straight Lines. Set your camera to three-grid mode. Ensure all the walls are placed at the right horizontal and vertical level, creating a nice line for viewers.
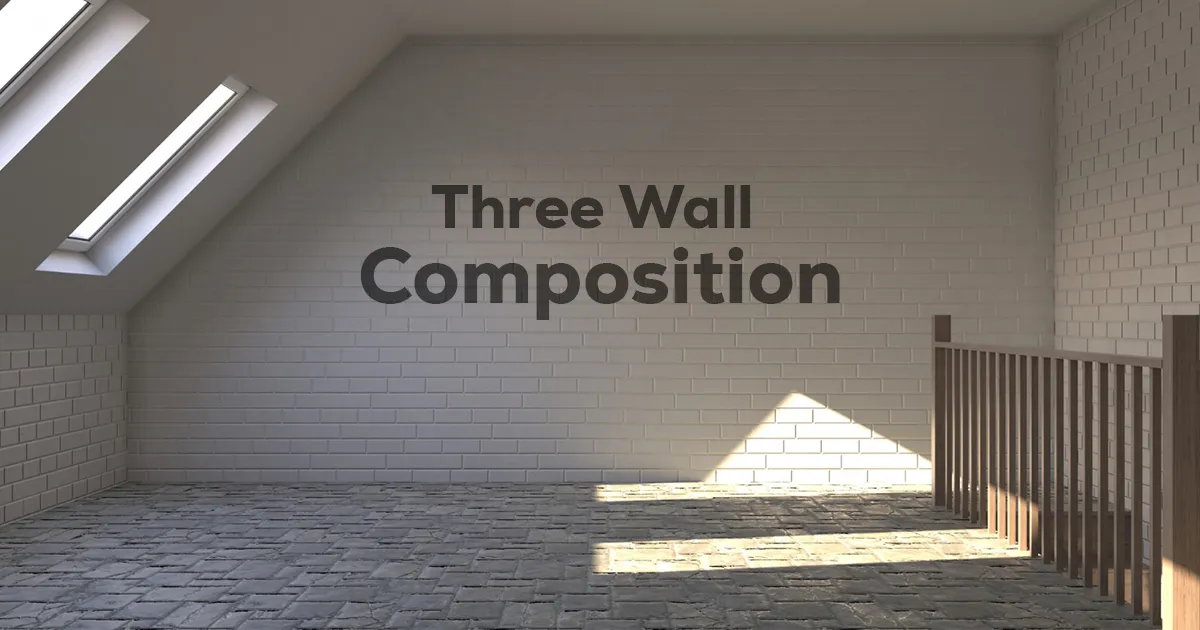
- Capture Three Walls. Set the camera in a corner to include three walls, adding depth while showing off the room.
- Turn Your Door into a Frame. Use your door as a frame to show off the full space of the room. It will also help the customers imagine their first view upon entering the room.
- Make Unique Elements the Center. Take images centering fireplaces, chandeliers, large windows, and others. For example, how the chandelier brightens the whole room.
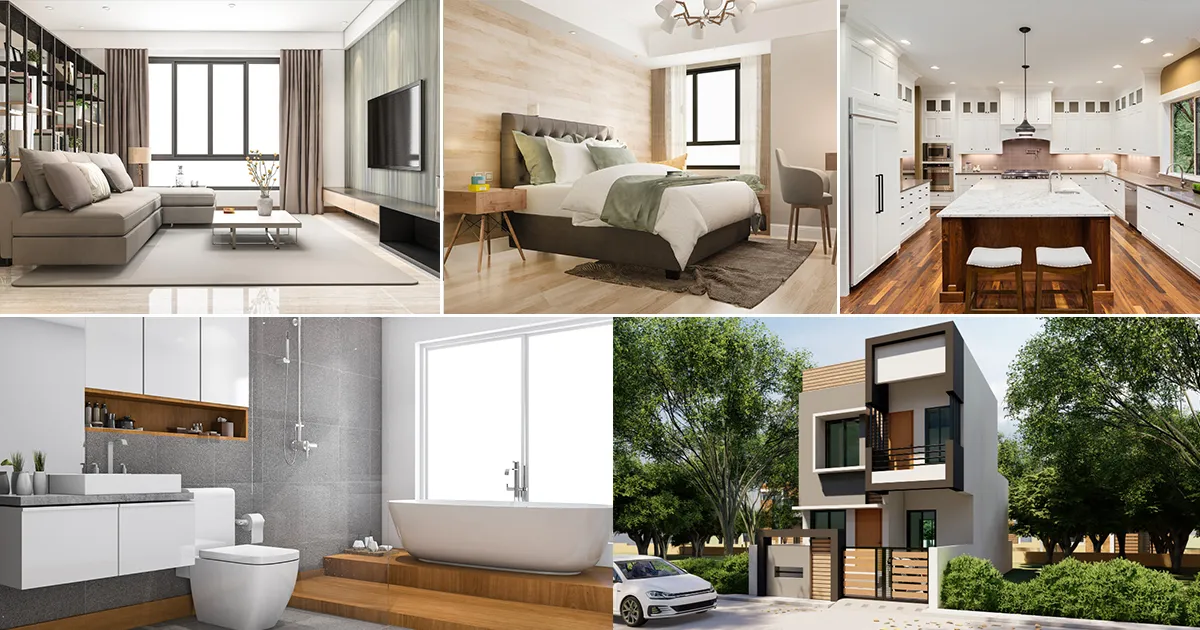
Room-by-Room Images
Buyers love it when you care about their wants and fulfill their desires. Take room-to-room images and blow viewers' minds with details.
Living Room: Ensure all the furniture and other elements look clean, polished, and comfortable. Compose the camera to capture the full space. To add a more aesthetic look, take images while soft lighting is coming through the windows. This will help customers visualize themselves bathing in the sun.
Bedroom: Clean the bedroom. Hide personal family photos and other things. Change the bedsheet to something neutral in color. Make it appear super comfortable and cozy. Capture a full view of the room from your chest height.
Kitchen: Clean the utensils and countertop. Add fruits to a bowl to create a fresh view. Open the windows and show the whole layout in your images.
Bathroom: Ensure the bathroom looks sparkly clean. Clean the mirrors. Hide all the personal stuff and capture images in a straight line.
Exterior: Mow the lawn and clean the outdoor space like fallen leaves. Clean pools, BBQ area, and gardens. Highlight the whole area in your high-quality property images, including unique features.
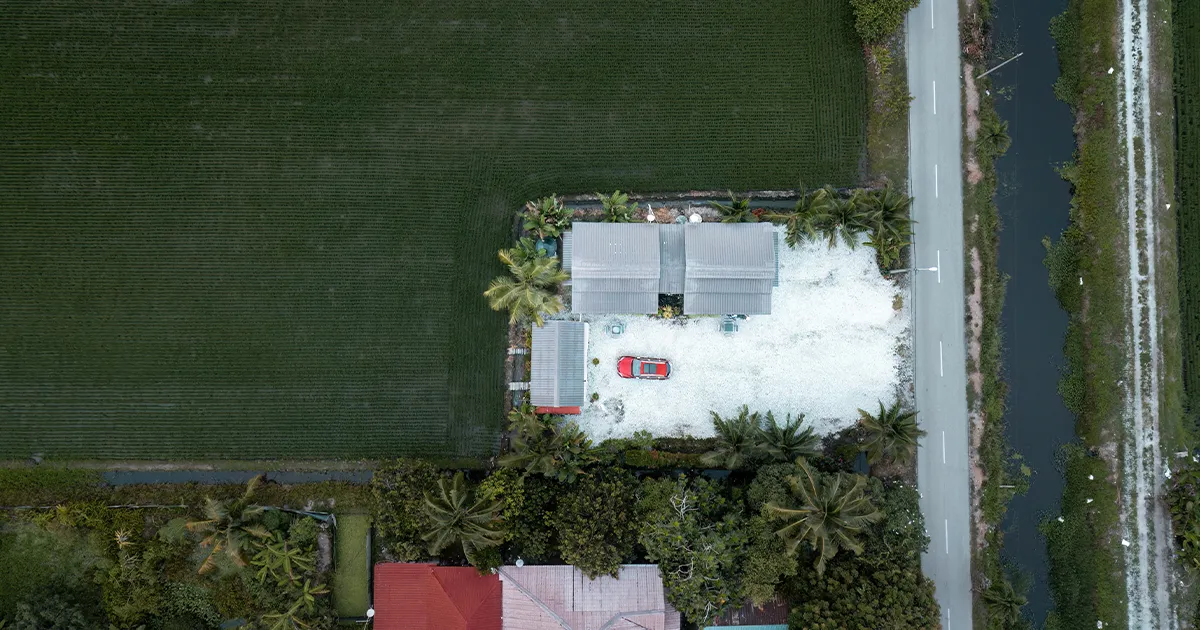
Aerial Shots and Videos for More Details
The more visual content you show, the better it increases the chances of buyers purchasing the property. Thus, include aerial shots and videos in your real estate photo shoot ideas and stand out from your competition.
Drone Shots: Fly your drone over the property and take high-quality property images from top-down, 45° angles, pullbacks, and more. Cover neighborhood, school, gardens, and surrounding nature. Ensure the property size is nicely visible.
360° Videos: Take pullback and 360° videos on the property. For example, start from your house, and the surroundings will come up one by one.
Edit Thoughtfully Considering Customers' Perspective
Remove every flaw with precision. Present the real estate accurately and attractively.
Color Correction: Real estate color correction is super necessary. Due to the natural lighting and camera setting collation, the color may look uneven in some places. Thus, you must zoom in and precisely fix and balance the color in all areas.
White Balance Correction: Another color correction you must focus on is white balance. Ensure white looks white. There are no yellowish or blue tones in the image.
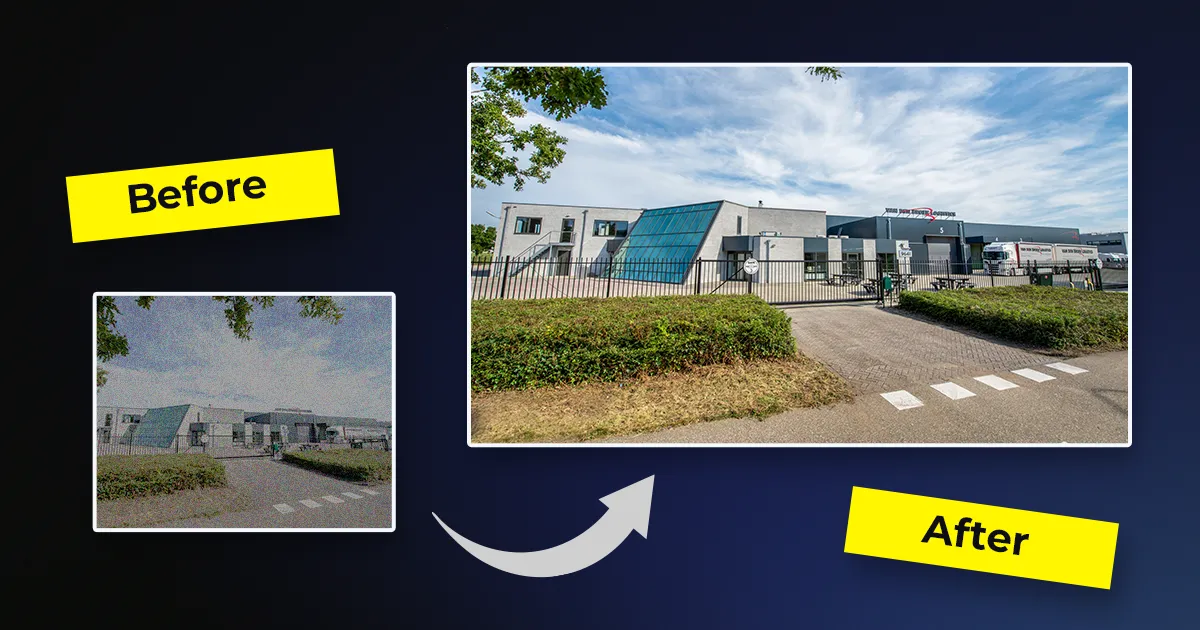
Sky Replacement: If the sky in the image is dull, dark, or too white, you must replace it with a brighter sky. Ensure real estate sky replacement looks balanced with the view. Remove Distracting Objects: Go through the image and precisely remove objects that may lower the image quality, for example, removing a plant beside the window. Adding Objects for highlight: If adding elements increases the value of the space, go for it. For instance, adding lights to the chandelier.
Naturalize the Shadow: Because the lighting may make the shadow look too dark, you need to soften it. Ensure the shadows look natural.
Straighten the Objects: If any objects look out of shape, straighten them up. For example, straightening the windows.
Format and Crop: Once you are happy with the real estate editing services, format and crop it according to your social media platform requirements.
Optimize High-quality Property Images for the Online Market
Just follow these four steps to optimize your property like a pro and get found by your target audience.
Resize Images: Compress files to speed up the website. When resizing high-quality property images, ensure the image quality remains stunning and balanced.
Alt Texts: Add alt-texts to make search engines understand the context of your images.
Rename Files with Relevant Keywords: Use a relevant keyword to rename your image files. This will help Google bots understand what your image is about and rank it in image searches. For instance, a luxury bedroom in Florida.
Format the Image: What format does your website and social media support? JPG, PNG, JPEG, WebP, or others? Save it in the required format.
Practice Makes a Real Estate Photographer Perfect
My last real estate photography tips is to keep practicing.
- Experiment with cameras and drones to learn their quirks. It will help you capture stunning property photos from various angles.
- Study professional real estate photographers. Follow the real estate photographer on social media. Check out their images and tutorials to learn new interior and exterior photography tips.
- Get feedback from your clients, agents, and peers. You can not understand your flaws alone. Thus, ask your peers and clients to review your images. Work on their feedback, and you will certainly get better.
- Continue shooting different properties. Every property has a different layout, so you need to make specific plans for each estate. This will help you gain more experience and improve your real estate photoshoots.
Common Real Estate Photography Mistakes You Should Avoid
Six common professional property photography mistakes you must avoid to grow your business in the long run.
- Start a real estate photoshoot without preparing the house first. This will hinder in your scheduling as well as the images will turn super low quality.
- Schedule photography dates without analyzing the weather conditions. Real estate photography requires natural lighting, so select a day when the sky is clear and sunny.
- Use zoom mode. Zoomed-in images often break. Thus, take natural pictures and ensure the photos turn out sharp and crisp.
- Poor framing and composition. First impressions make the sale. Thus, if your property images have poor framing, instead of capturing customer attention, it will make them go away.
- Shooting 6-10 images. Take 15-20 property images from various angles. It will help you choose the best ones and composite images if necessary.
- Too much editing. Edit real estate images as realistically as possible. Ensure buyers get what they see in the image. If the image is unrealistic, it may harm your company's reputation.
Finishing With
Real estate photography is a powerful marketing tool that will set you apart from the competition, communicate with your target audience, and generate sales. Follow our real estate photography tips to prepare, photograph, and edit your property images and dominate the online market.
If you need professional help retouching real estate images, contact Perfect Retouching. We can edit every type of real estate camera and drone shots. Ensure all your flaws are removed with the perfect look. All our real estate clients are happy with our work. Because we deliver perfect images on time. Take our free trial today and see the magical transformation.


