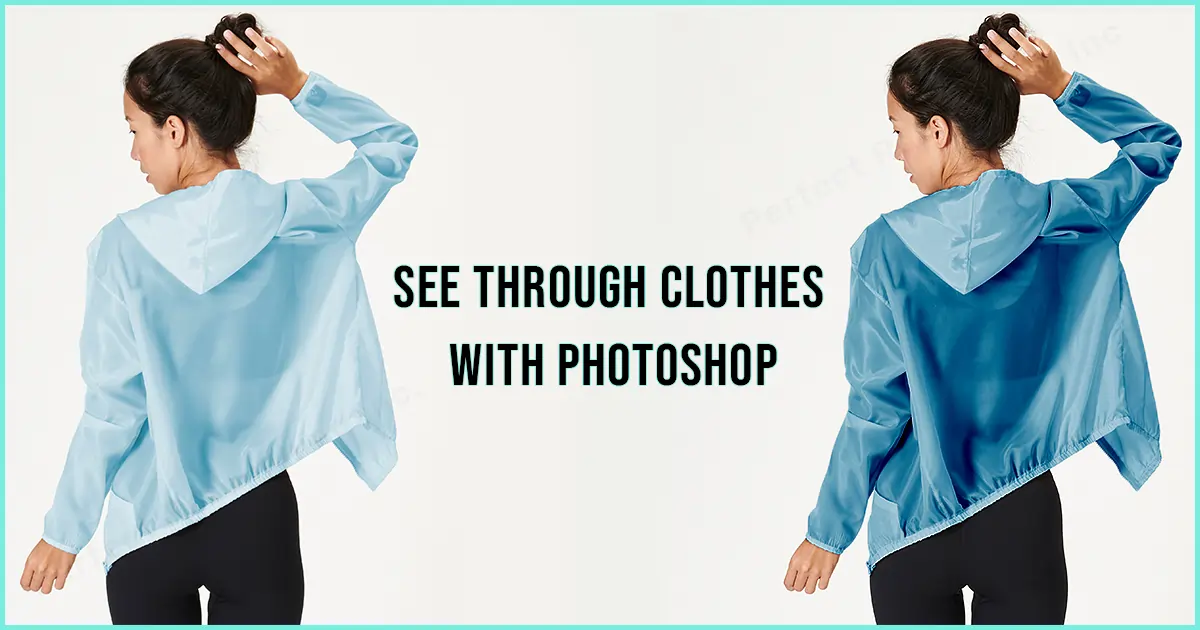
How to see through clothes with Photoshop? X-ray Specs in Photoshop?
X-ray clothes. What comes to mind when we hear the word ‘x-ray clothes’? Is it referring to clothes to wear while performing an x-ray? Well, no!
This is a world of wonder. Nowadays, there are very few things that we can only wonder about and are not possible to get. We all watched cartoons in our childhood. Many of us still love to watch as adults. In many of the cartoons we have seen episodes which contain a special spectacle mostly known as ‘X-ray Specs’. In cartoons through x-ray specs, it was possible to see the skeleton of characters through their bodies. Or some may have shown with help of ‘X-ray Specs’ they could see through clothes. Sadly, life isn’t a cartoon, Right?
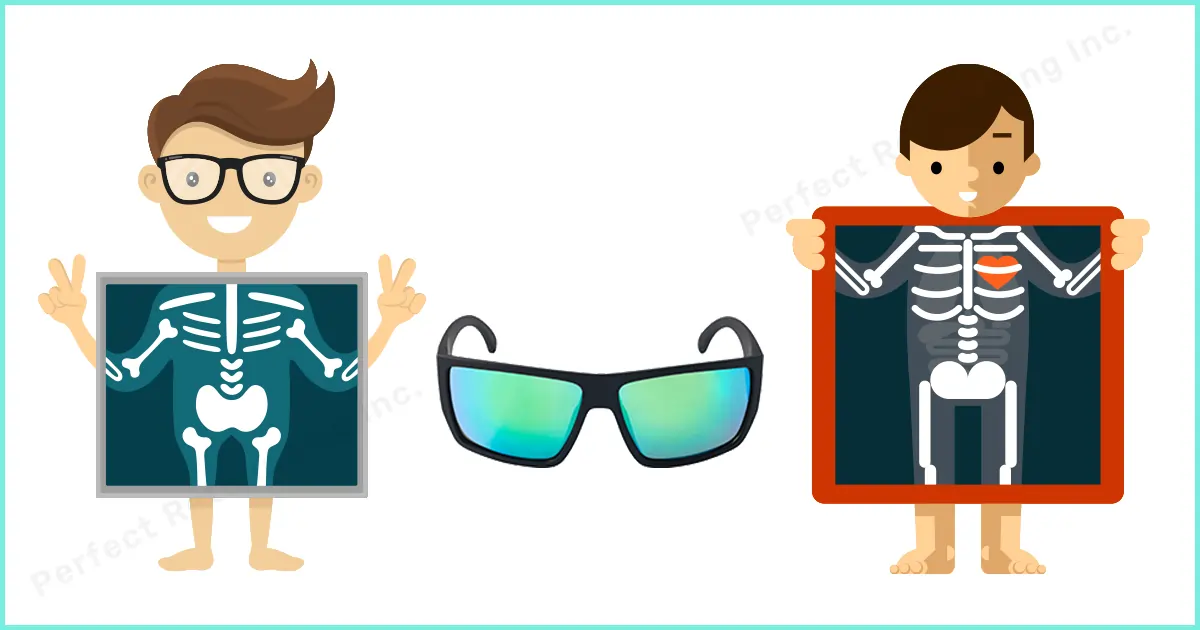
Or is it? Talking about seeing the skeleton of someone without an X-ray machine might not be possible. But having a sneak peek through clothes… that’s very possible.
Sneak Peek through clothes by not wearing any specs but through Photoshop. By using Adobe, we are able to peek underneath any clothes. There are many fake and real articles, blogs, tutorials, and even apps on this topic. But not all are trustworthy.
So, let me help you with this topic and let’s see how we can adjust contrast to see through clothes.
How to see through clothes with photoshop
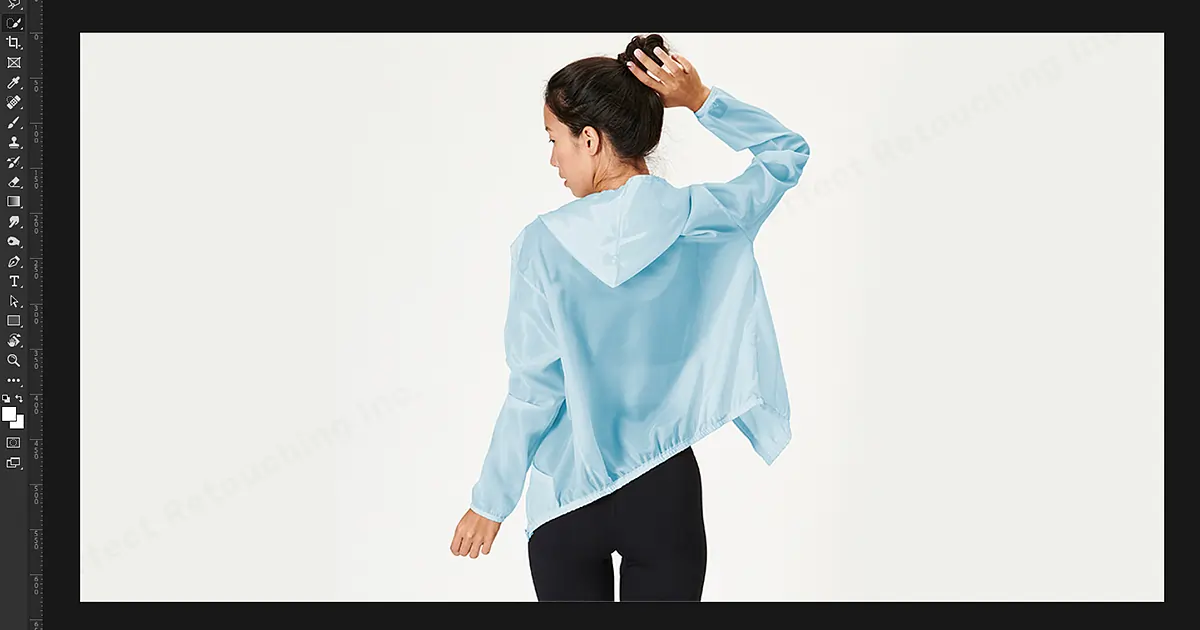
To work on the X-ray see-through technique, first we have to find a photo perfect for fit. Even though any picture that involves clothing is workable in this case. To find the best result first we should find a model wearing light-colored clothing. Even better if it’s slightly transparent.
Here comes the actual process…
Step 1:
Open the image on Adobe Photoshop. We can simply open it by pressing Ctrl+O. Or we can go to the top navigation tab and select the file tab to choose the image.
Step 2:
Now we have to select the part/clothing that we want to transform. It is safe to go with basic and light color clothing. It would also be good if you choose a shirt or a soft t-shirt.
Then it’s time for selection. For selection, we have the Lasso tool. The keyboard shortcut for the lasso tool is ‘L’. we can also manually select the tool. From the left tab. There are three types of lasso tools…
1. The Lasso Tool
2. The Polygonal Lasso Tool
3. Magnetic Lasso Tool
We can choose any of them to select our desirable clothing piece. The more precisely we can select, the more realistic outcome we will have.
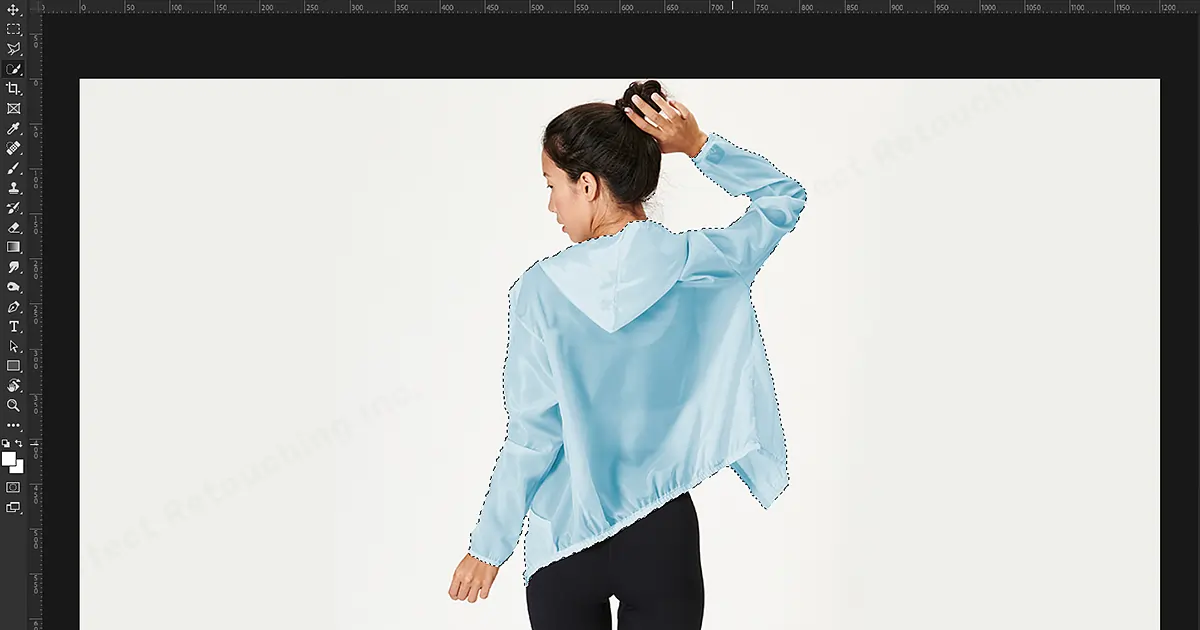
Step 3:
For the next step, we need to add a layer. For creating a new layer, we can simply press Ctrl+J in Photoshop.
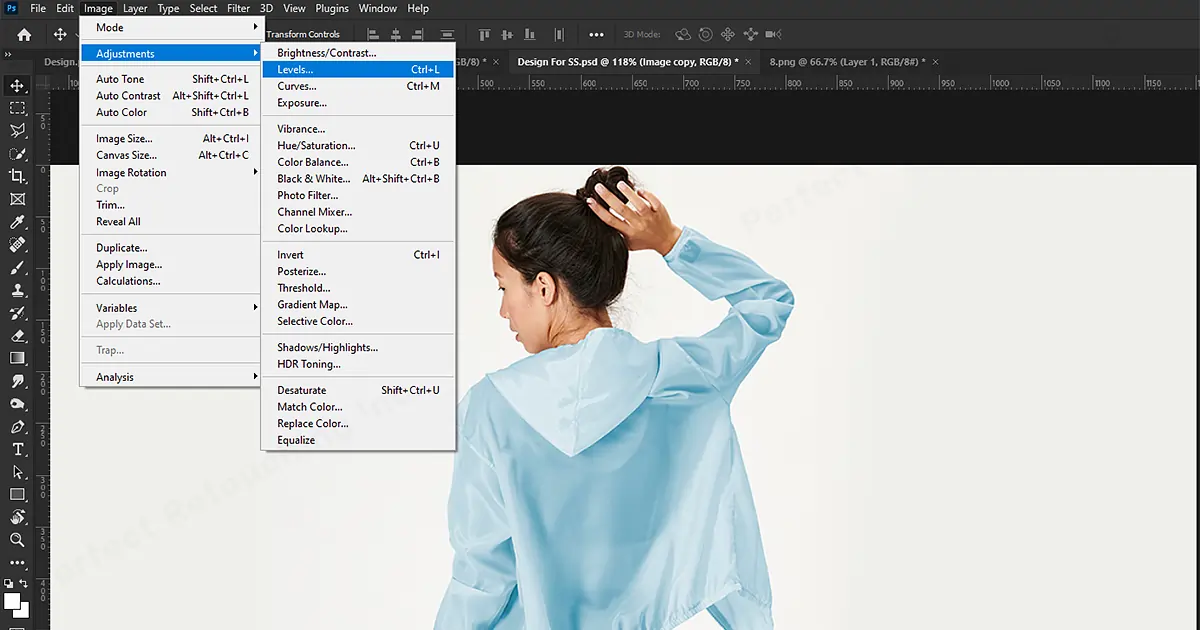
Step 4:
After this step, we have a separate area where we can go for editing to make the clothing look transparent. First, we have to select the adjustment area. Continuing hovering on the adjustment layer, we have to hold the Alt button on the keyboard. By this, we will be able to edit just the desired clothing alone without affecting other image areas.
For that transparent effect, we have to adjust the RGB up and down until we find the desired effect. It will definitely take longer at first to adjust the ratio. But, eventually, after some practice, we will get used to it.
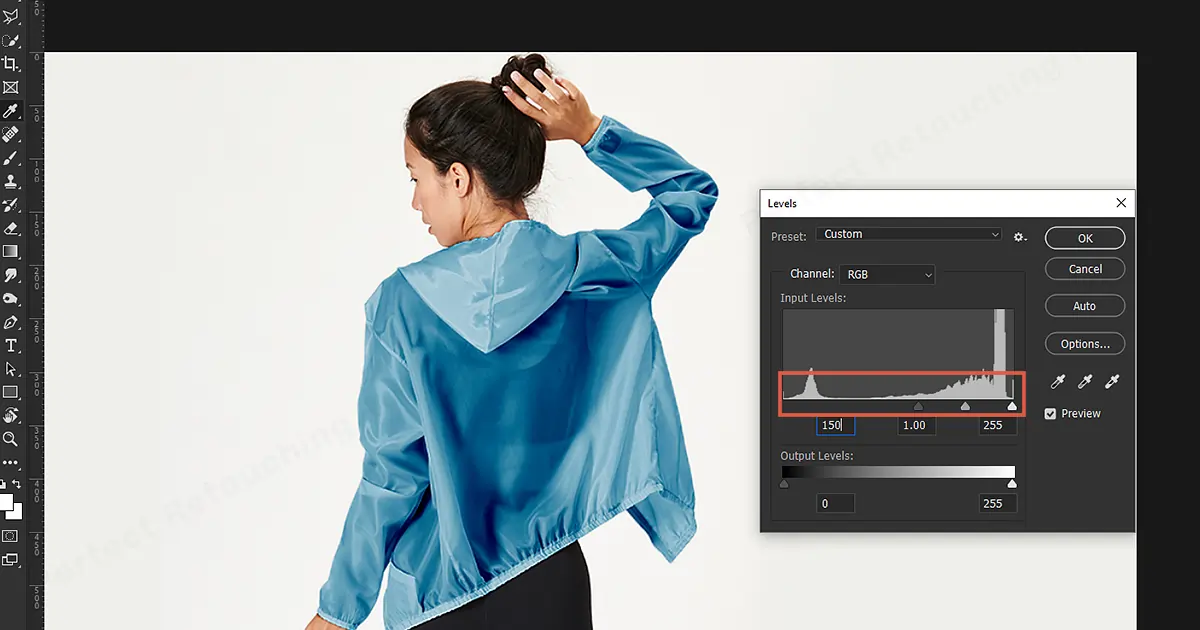
After selecting “levels”, there will be a RGB scale. This scale determines the outlook of the final image.
Step 5:
Our main work is done. Yet to have the perfect image try to use contour and contrast. It will bring up the best version of the edit.
It’s quite unbelievable, we can discover what someone’s hiding underneath within just a few clicks. Even though it is a great tool we might wonder what’s the purpose of this tool. Why do people use it? This is basically used to create fun images. And it is pretty good at that. But since there are always two sides to a coin.
Sony Camera Featuring X-ray Mode
The world has come to a place where people don’t need to get out of the door to peek into someone’s life. Just a few clicks and you can gather tons of information about anyone. And that’s not the only horrible thing.
Imagine it’s a beautiful sunny day. You went out with your friends wearing some soft fabrics to feel comfortable. Maybe you went to the pool or the beach to have fun. You clicked some amazing pictures and also there were other people there to enjoy their time. You went home and shared the pictures on social media and called it off a day. Pretty tranquil, right?
Now imagine waking up the next morning with a text on your phone from an unknown person. You opened the text and saw some pictures of nude photos. After opening your eyes properly when your brain starts working, you realize soon it’s your own photos. Won’t it shock you?
That’s exactly what happened in 2001. Not through photoshop but through a camera. Back then it was a great thing to have a camera with night vision. ‘Sony’ was doing good with this demand and supply. But soon enough Sony realizes that their camera’s night mood vision or ‘X-ray mode’ is not only good at taking photos in the dark or night but it can take some unbelievable photos in daylight as well. This camera can see through clothes in bright daylight with a special filter.
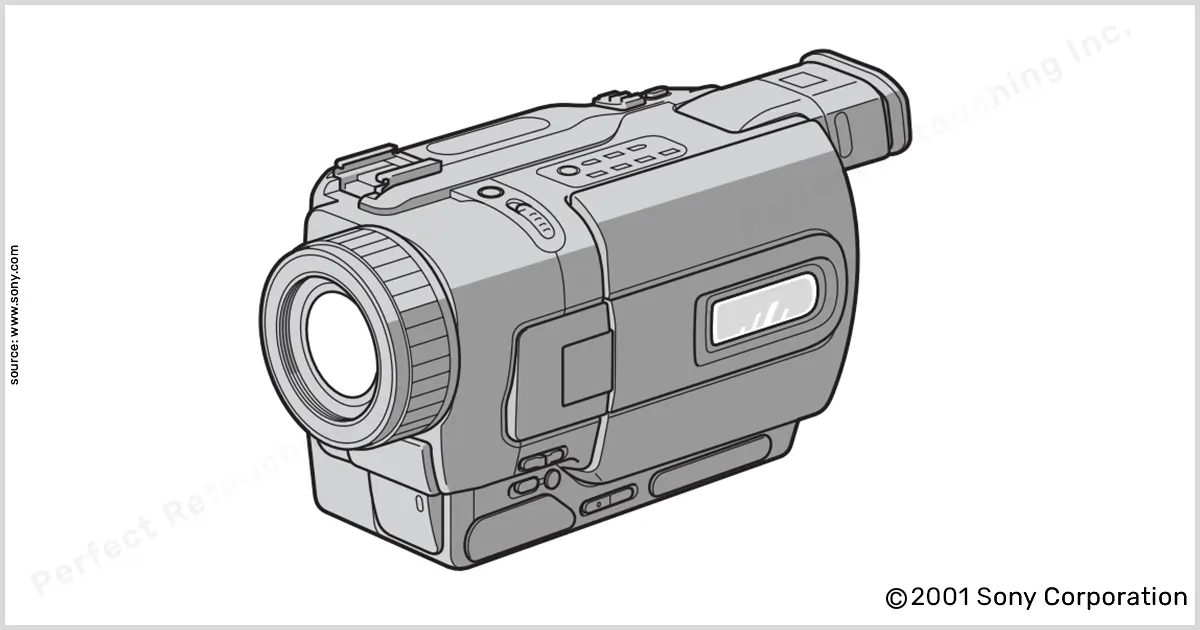
As soon as ‘Sony’ discovered that they removed the filter from the camera. But some people eventually find out how to modify the camera. ‘Sony’ responded that they aren’t responsible for any kind of modification for their products. ABC News had published an article on this topic.
But these days people don’t need to have any special affected camera to capture such photos. Almost anyone can edit pictures, see through clothes. Not only that there are also services to photoshop x-ray clothes online.
Yet, these things are hard to do since photoshopping someone’s photo without their concern is illegal. If someone does that without concern, they have to face legal charges. Even body retouching to the level where people don’t look like their real shape has been declared illegal.
Conclusion
Photoshop to see through clothes is very unique and creative to this day. It can be used to showcase creativity since it’s a handy technique. Yet we should look after our actions. As Mark Twain said… “Too much of anything is bad, but too much good whiskey is barely enough.”
 English
 Arabic
 Danish
 Dutch
Dutch
 Finnish
 French
 German
 Hebrew
 Italian
 Japanese
 Norwegian
 Polish
 Portuguese
 Spanish
 Swedish
 Russian

