 English
 Arabic
 Danish
 Dutch
Dutch
 Finnish
 French
 German
 Hebrew
 Italian
 Japanese
 Norwegian
 Polish
 Portuguese
 Spanish
 Swedish
 Russian
Camera Settings for Product Photography| Master on Camera Chemistry
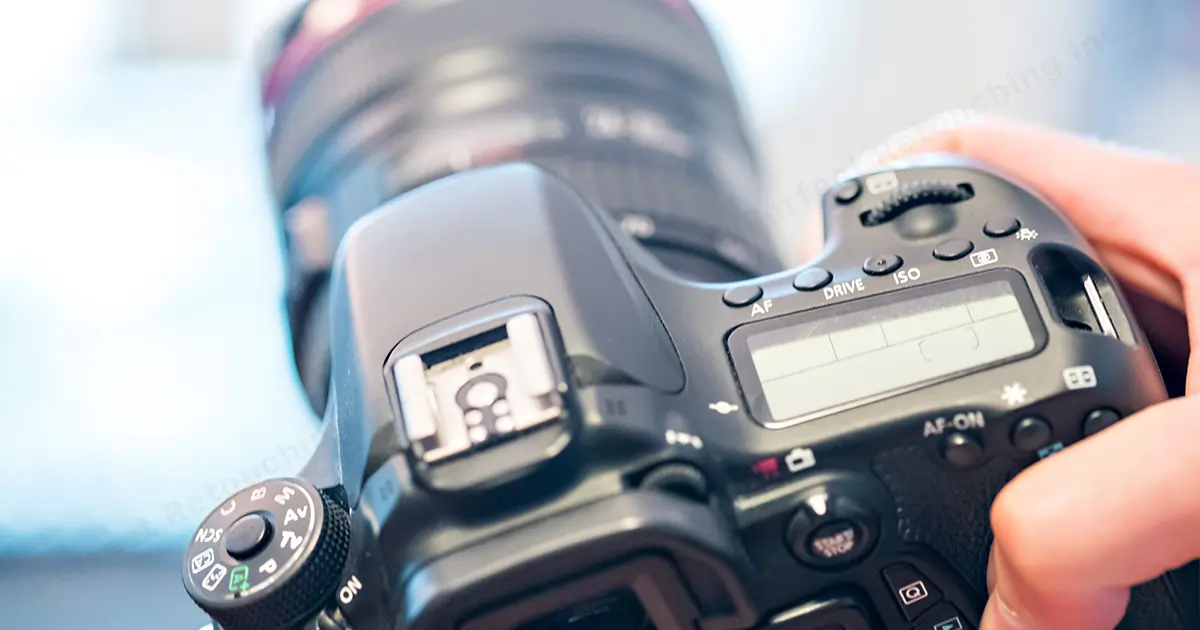
New at product photography? and don’t know how to deal with your camera? Then this blog is just for you. Today we will talk about camera settings for product photography. In every e-commerce platform, you will find product photography. When you think of photography in general, what comes to your mind first? Camera, right? Now, you might think a camera is all you need. But no, having a camera is not enough. You have to gather knowledge about the camera first and practice a little bit then you can start properly.
Best Camera Settings for Product Photography
The “one suit for all” preset does not work for all categories of photography when it comes to camera settings. Camera settings are a technical issue for photography. The settings that you need or are best for product photography might not work for jewelry or model photography. Each and every photograph needs its own camera settings. So, let’s talk about the unskippable camera settings for product photography.
Exposure Triangle’s Settings for Product Photography
The Exposure Triangle is also known as the 3 pillars of exposure. And the pillars’ names are ISO, Aperture, and Shutter Speed. These three have their individual works. The settings may vary from product to product.
1.Keep ISO at 100
Light gathering ability is controlled by the ISO settings. A photo is already a technical topic. How much light is needed for a photo shoot in a professional camera, depends on ISO. Normally, ISO’s range is about 200 to 1600. But depending on the modern-day’s camera model and features, the number of the ISO can go as low as 50 and also can get high as over 3 million. Let’s make things clearer. Low sensitivity will come from a lower ISO and will also take longer to capture an image. And if you increase the ISO number then it means you will capture images at a fast speed. But the downside is you will have “noise” in your image. ISO 100 means the picture will need 1 sec to click and if you choose ISO 1600 then it will need 1/16 of a sec to click the picture.
Now thinking of product photography, you always have to keep in mind that your photography will highlight the products. So, keep the ISO at the lowest. And you can increase from there. Then choose what is working for your product in the photo shoot. But the drill here is to start from the lowest.
2.Keep Aperture Low
The aperture is like our eyes’ pupil. When our eyes (pupil of the eye) are wide open, we can see almost everything but when we try to see clearly and try to focus on something, our eyes automatically go smaller. The bigger the Lense is the blurry the background would be.
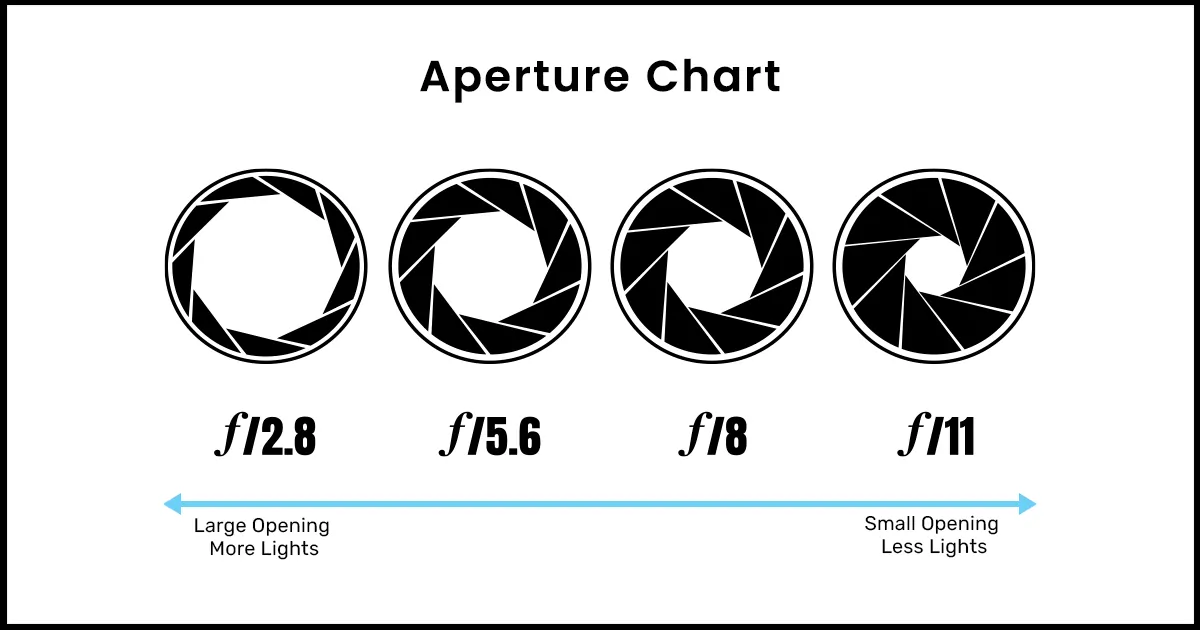
The Aperture is referred to by f-stop. Usually, the range of aperture is from F-1 to F-22. The lower aperture means a bigger Lense and the higher aperture means the smallest Lense. The Aperture of 1/1.8 is bigger than the aperture of f/16 or f/22.
In order to get the perfect picture for the product photograph, keep the aperture as low as possible. That’s how the focus will be clear on the product. So, in product photography keep the aperture as low as possible and decrease slowly as you need.
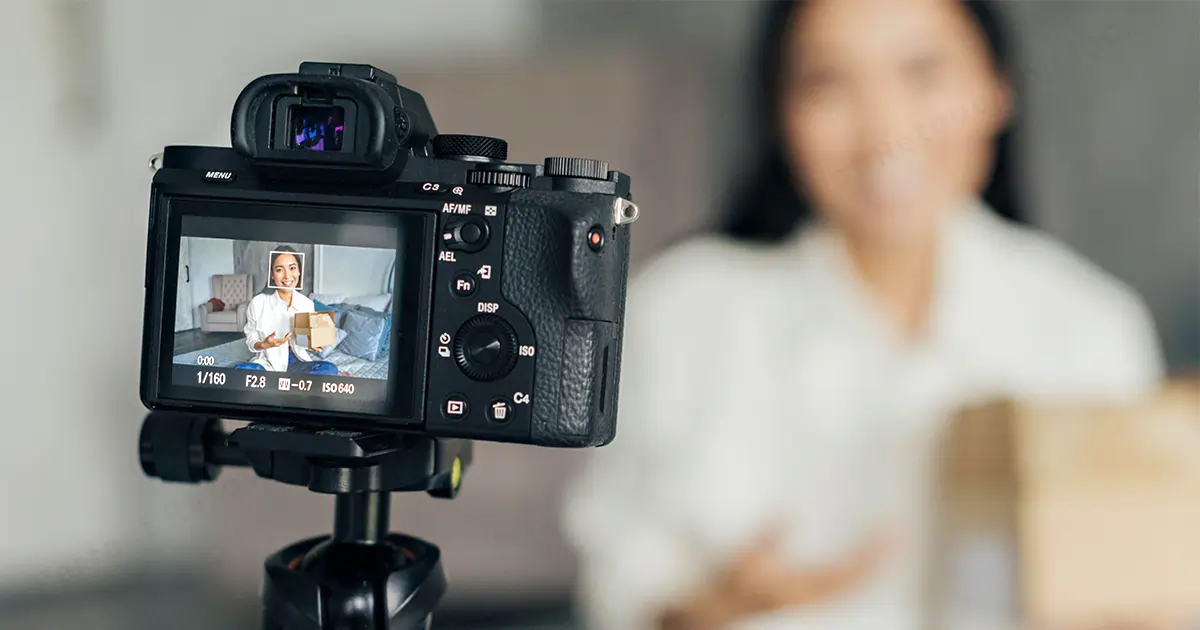
3.Keep the Shutter Speed As Fast As Possible
A higher shutter speed will freeze the sight. Any kind of movement on the screen will not make the picture shaky. A higher shutter speed means the fastest shutter speed and the lower shutter speed means the slowest shutter speed. The shutter speed of 1/60 is faster than the shutter speed of 1/200.
So, in the case of product photography, you should keep the shutter speed as fast as possible.
Shoot at Manual Mode
If you don’t put the manual mood on, you can’t set anything yourself in the settings. Starting from cars to cameras you will find two modes on them. Auto and Manual. Auto mode will allow you to relax and turn your camera into an intelligent or AI mode, where the camera will give its best guess on what is the best setting for the scene. In this mode, you can sit back and relax. But the downside is, you will get a setting based on some given inputs or in-builds on the camera. It might not always give you the best result. Auto sets the ISO, Aperture, and Shutter Speed.
But in the Manual, you will get to choose the settings. You will choose the settings of ISO, Aperture, and Shutter Speed. With manual mood, you can experiment a lot. You can set ISO, Aperture, and Shutter Speed as you want and experiment with the camera settings and choose what goes best for the product photography.
Shoot in RAW
The format indicates in which format the picture will be saved. Now you may ask why you should be bothered about the format in which the files will be saved. Since your work is only to capture the image. Yes, you won’t need it directly in your photography. But it would help you in your post-production work process.
Product photography needs a lot of attention. It includes post-processing of photos as well. The RAW file is the biggest file. It comes in handy for photo editors if the format is in the RAW file. But if you can’t find the RAW format in settings then choose the large file that you can find in the formats in camera settings for product photography.
White Balance
In product photography there is no exact white balance ratio. It mostly depends on the product's color. White balance is the temperature of the picture. You can see the picture can be very cool or warm based on the lighting.
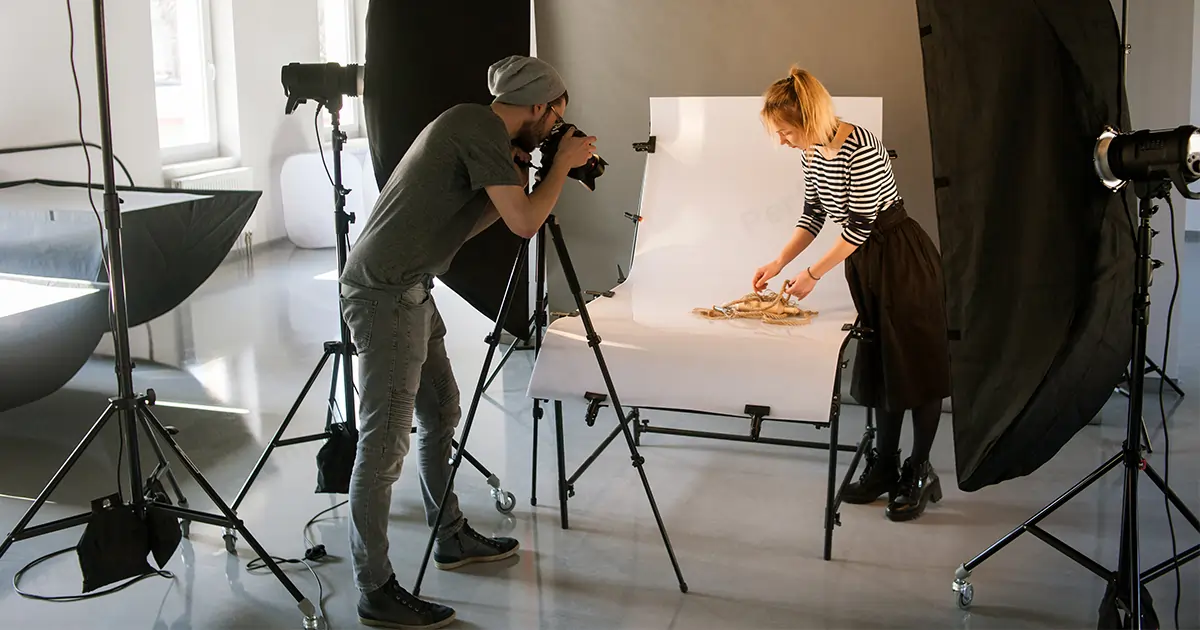
However, we could have some ideas. Suppose you are shooting for shoes or jackets (or pieces of clothing), you mostly will need harsh lighting. And mostly it is preferred to use sunlight for natural lighting when it comes to jewelry or reflective products. And direct sunlight can ruin the picture quality.
Depending on the product, choose your source of lighting. If the product is shiny and needs natural lighting then Sunlight is ok for the photoshoot. But if the product is not shiny and has some colors and texture then I would suggest you use light setups. Light depends on the product that you are working with. If the product is very shiny then you might not need strong lights to keep it in focus but if the product's color is very pale and has a lot of texture, then it might need some strong lighting.
Automatic Full Focus/ Focus Automatically
If you don’t use focus on the picture your picture will come out blurry. To avoid blurriness in your picture you have to set the camera on autofocus mode.
If your intention is not to drag the attention on something else then you should set the camera to Autofocus. The camera will automatically focus on the product itself. Automatic Focus will be identified as AF.
Things to Keep in Mind While Doing Product Photography
Product photography for photographers can be as tricky as product retouching for editors. But photographers can make photo editors’ work easier by keeping some important things in mind, like…
- How to avoid glare on products?
Try to avoid any kind of glare in the picture. Glares make the pictures look unprofessional. To avoid the glare matte spray on the product. Change the angles and use soft lights instead of hard and rough lights. Nowadays this could be done by editing as well. you can get the shine or metal retouching service from jewelry retouching. However, matte spray will make the work 10 times easier. - How to avoid taking blurry product images?
The basics of not getting a picture blurry is to be steady with the camera. To avoid any kind of blurriness, hold your camera steady. To be more specific, use a tripod. Don’t raise your ISO very high. Keep the focus on the product only. - How to get the best light for taking product photos?
Use natural lighting for product photography, yet don’t use rough sunlight for product photography. You can also use artificial lighting but don’t use flash and use something like a light box or Translum Paper to dismiss the rough direct light. Also, can use soft reflection to brighten up the product and avoid white imbalance.
Product Photography Gadgets
There are endless things that can be added to this list but I’m only going to mention the necessary stuff only.
1.Camera
This is the most obvious gadget on the list. Even though any DSLR camera would work well for product photography, Still there are some best at the market. Like…
- Sony A6100-
Camera type: MirrorlessSensor: APS-CMegapixels: 24.2MPLens mount: Sony E (APS-C only)ISO range: 100-32,000 (exp. 51,200)Image stabilization: None (lens only)Weight: 396g - Fujifilm X-S10-
Camera type: MirrorlessSensor: APS-CMegapixels: 26MPLens mount: Fujifilm XISO range: 160-12,800 (80-51,200)Image stabilization: Sensor-shift (up to 6 stops)Weight: 465g - Sony RX100 V-
Camera type: CompactSensor: 1-inchMegapixels: 21MPLens: 24-70mm (equivalent) f/1.8-2.8ISO range: 125-12,800 (exp. 80-25,600)Image stabilization: SteadyShot optical (lens)Weight: 299g - Olympus OM-D E-M10 Mark IV-
Camera type: MirrorlessSensor: Four ThirdsMegapixels: 20MPLens mount: Micro Four ThirdsISO range: 200-25,600 (exp. 100-25,600)Image stabilization: Sensor-shift (4.5 stops)Weight: 383g - Nikon D3500-
Camera type: DSLRSensor: APS-CMegapixels: 24 Lens mount: Nikon F (DX-format only)ISO range: 100-25,600d Image stabilization: No (lens only)Weight: 415g
There are more product photography-friendly cameras on the market.
2.Table
There are many professional tables for product photography known as Shooting Tables. You can look at any online websites to get the idea of a shooting table.
3.Tripod
Tripod is optional for product photography. But to get a smooth, crispy picture of your product tripod is a big help. It will help avoid you from taking any shaky or blurry pictures of your product.
4.Lightbox
We already have touched the topic of a lightbox. Lightbox can be used both as a source of light and diffuser of light, depending on the purpose. Lightbox is mostly a source of light when it comes to animation and illustrations. But when it comes to product photography it is mostly used as a diffuser of lights. to soften the hard and strong light Lightbox is used.
5.Light Stand
A Light stand is used to hold the light in the right place. Light Stand makes the work easier for the photographer. He/she doesn’t need a helping hand to hold any lights.
6.White card sheets
White Card Sheets are also known as White Bounce Cards. In an easy way if we have to, then White Card Sheet is the product by which you can put the extra illumination on the dark areas of the frame so that the picture could have a little bit more interesting outcome.
7.Matt spray
Matt Spray is used on the shiny products to illuminate the light reflection from the product and get it a non-gloss, matty finish. it gives the product a matt look as well. It can also be done on post-processing of a photo with the help of photo editing and retouching.
The Final Wrap
Camera settings for product photography can not be done only by any presets or filters. You can learn it very easily and it doesn’t need any hard or tough elements to do. Product photography needs skills to learn. As I always say, skills will grow by practice to have a grip on it. Once you get to understand the settings and techniques you will eventually get pro at photography in the field of e-commerce.


