 English
 Arabic
 Danish
 Dutch
Dutch
 Finnish
 French
 German
 Hebrew
 Italian
 Japanese
 Norwegian
 Polish
 Portuguese
 Spanish
 Swedish
 Russian
Best & money Saving Tutorial of Gem Photography
Gems. We all want gems. We run after gems. Not only in real life but also in the virtual world as well. Do you play video games? What video game did you play last time? I’m pretty sure you come across at least one video game in your life where you can get gems as a reward for your winning. But what is this gem? Why do we need Gem photography? Is Gem anything like a diamond, crystal, ruby, or pearl? Well, let’s learn about gems today and also how to do gem photography.
What is a Gem?
Once Marilyn Monroy said, Gem is a girl’s best friend. I can already hear you saying ‘Faria, Marilyn Monroy said Diamond is a girl’s best friend.’ Yes, I know. I modified those lines a bit because diamonds are also a kind of gem. Many other stones are considered gems like Emerald, Ruby, Aquamarine, Garnet, Pearl, Amber many more, and of course our girls' best friend Diamond.
Specifically, a Gemstone is a mineral kind of crystal that is cut and polished to give attractive shapes that turn into jewels. When a solidified mineral is considered rare and attractively beautiful with a high durability and rarity then it is called a Gem.
Why Should You Do Gem photography?
Why are you reading this blog? Just kidding. I’m pretty sure you are interested in gem photography, that's the reason you clicked on this blog. But, if you have a jewelry shop or gem shop, then this blog is a must-read for you. If you own a business related to any kind of jewelry then this blog will help you as a business guide as well.
Let me reveal a secret to you. The photographers that you are hiring for your jewelry’s photoshoot, they are charging for both photography and photo editing. But the charge ratio of photography and photo editing is not 50-50. It’s almost 90-10. Yes, the cash they are taking goes 90% in just clicking on the camera. I know they are charging for their hard work, time, effort, skills, and experience, and huge respect for those who do excellent jobs. But what if you take your gem photography responsibility on your shoulders? You will be able to save a lot of money which you can spend on a good photo editor. Then you only have to spend that 10% instead of 100%. If this is possible then why not? Let’s talk about how this is possible, how to photograph gemstones…
How to Do Gem Photography?
The main concern in Gem Photography is the camera should be on the details of a gem. The buyers will need to know what the color is and what the pattern of the gem is. In this case, just any camera won't seal the deal. We will need special micro focus cameras. The camera is not enough, you will need a lens, tripod, lightbox, background, table, stand, and many more things. Let's see the required equipment list.
Equipment That You will look for in Gem Photography
Start with the obvious ones and then go search for what you need. This should be the mindset for your upcoming equipment-gathering process. If you want to have the effects as a professional photographer in your gem photography then you just can’t skip the necessary equipment. And what are those elements? Let’s see…
1.Camera to Shoot the Gem – (Best Camera for Jewelry)
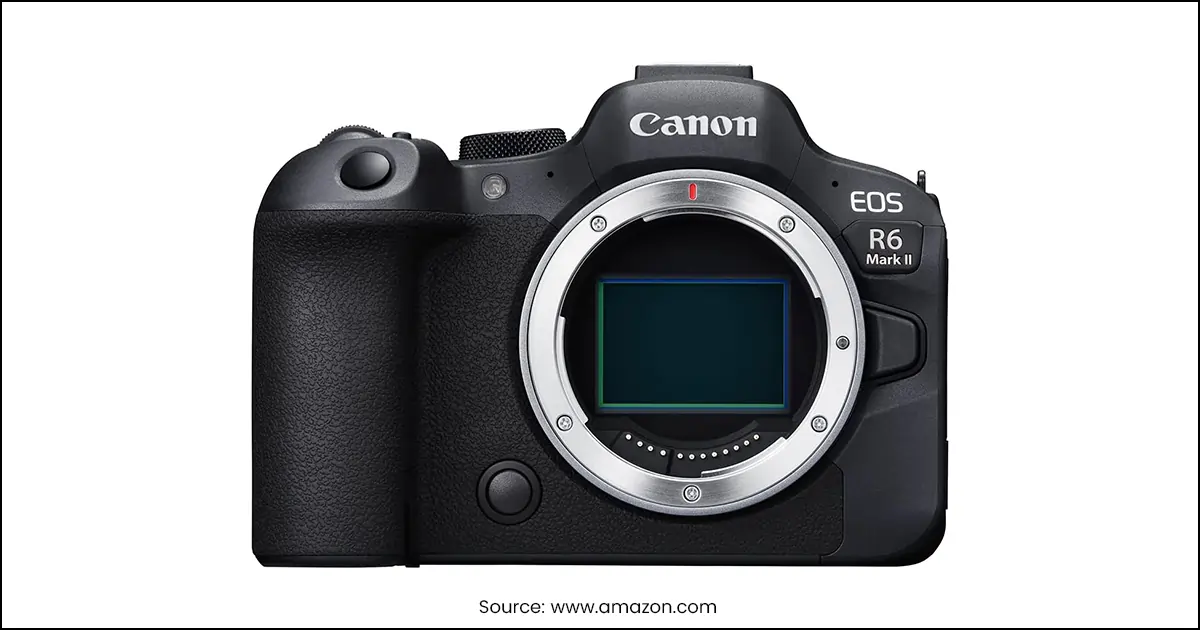
(i) Canon EOS R6 Full-Frame Mirrorless Camera
This is also known as Canon EOS R6. This camera is famous for its impressive quality. This camera will give you the surpassing of an entry-level full-frame camera. And the best part of it is that it supports both standard RAW and C-RAW files which means the images will take up less space with high quality.
- Type: Mirrorless
- Camera Resolution: 20 Megapixel
- Special Feature: Brightness Control
- Connection ability: Bluetooth, Wi-Fi
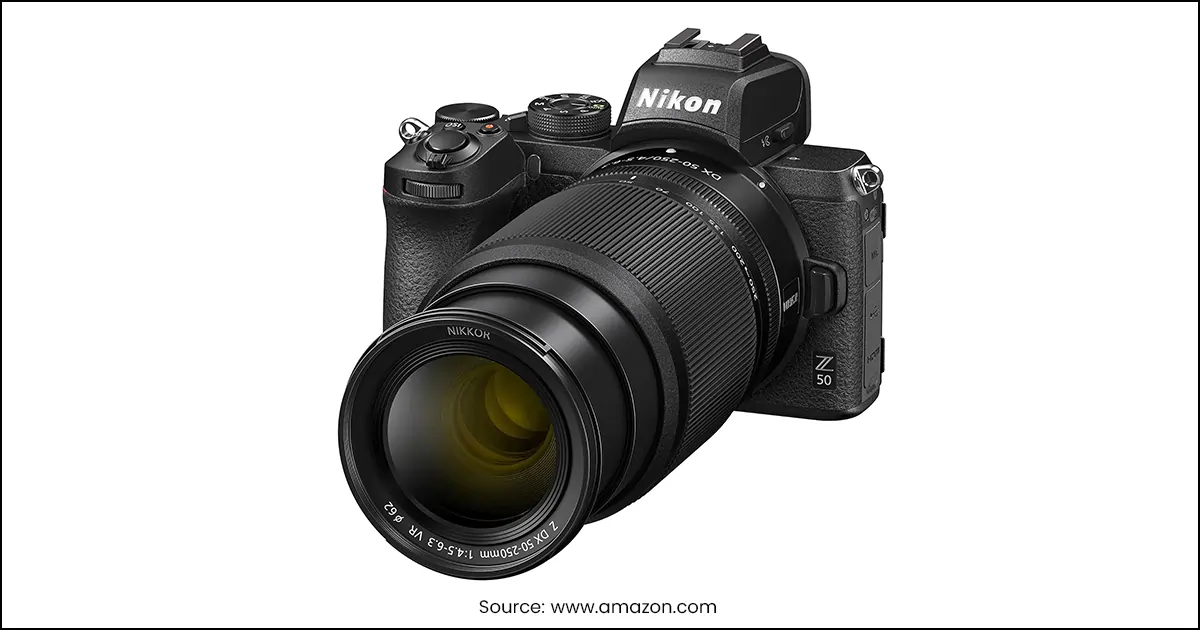
(ii) Nikon Z50
This camera definitely needs some kind of camera experience. But you don’t have to be a super expert to use this camera. Something in the middle would work the best. In short, Z50 is for serious photographers who want a light, portable, capable, advanced camera system that's lightweight, portable, and still capable. The Z50 doesn't compromise much on controls and customizability, unlike other entry-level cameras.
- Type: Mirrorless
- Pixels: 21 Megapixels
- Maximum Resolution: 5568X3712
- Shutter Speed: 1/4000 sec
- ISO: Auto 100-51200, expandable to 204800
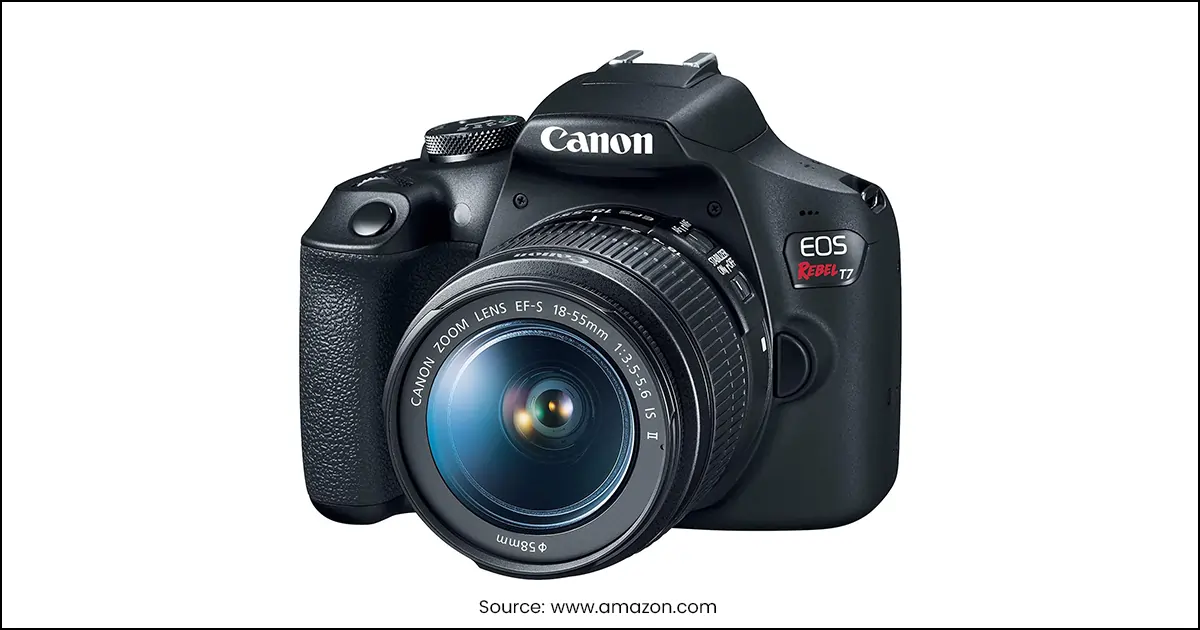
(iii) Canon EOS Rebel T7
Canon EOS R7 mark ii is an affordable yet capable DSLR. Camera r7 delivers a good image quality compared to other cameras in its class. It also does a great job of balancing out the exposure. One thing is for sure, it will give you quite a good experience.
- Type: APS-C DSLR
- Pixels: 24.10 Megapixels
- ISO: 100-6400 (H:128000)
- Shutter Speed: 1/4000
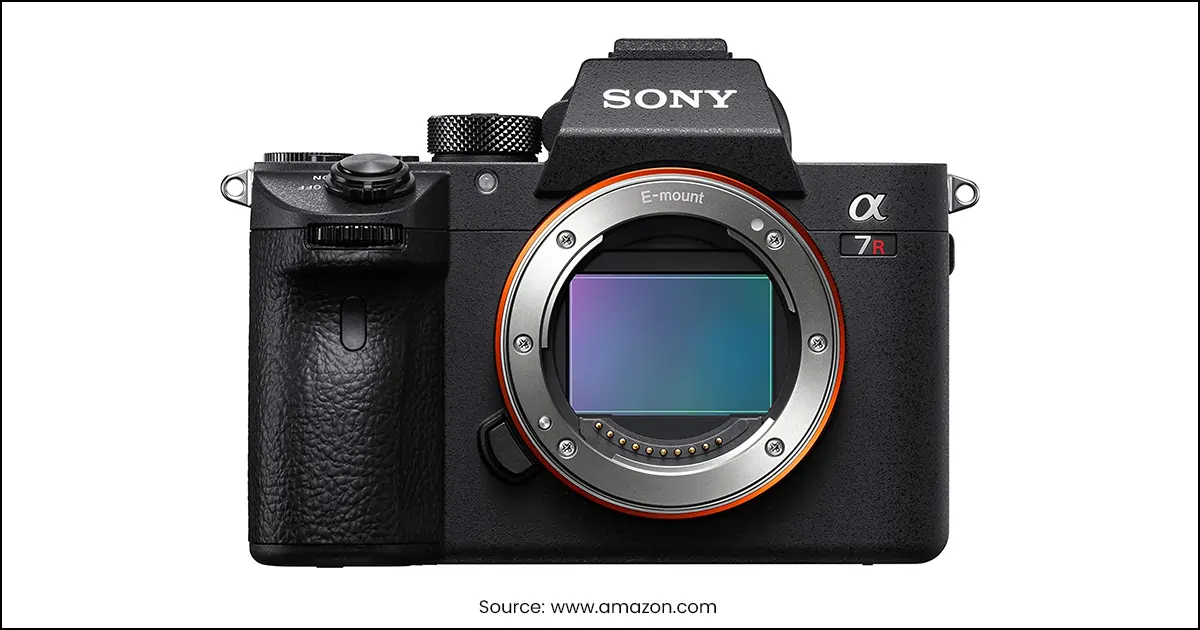
(iv) Sony Alpha A7R III
The Sony A7R III is a high-resolution full-frame mirrorless camera. Compared to Sony’s previous models it is faster in processing, improved in autofocus, and also improved in economics. It includes a larger battery as well.
- Type: Full-frame mirrorless camera
- Pixels: 42.4 Megapixels
- ISO: 100-32000, expandable to 102400
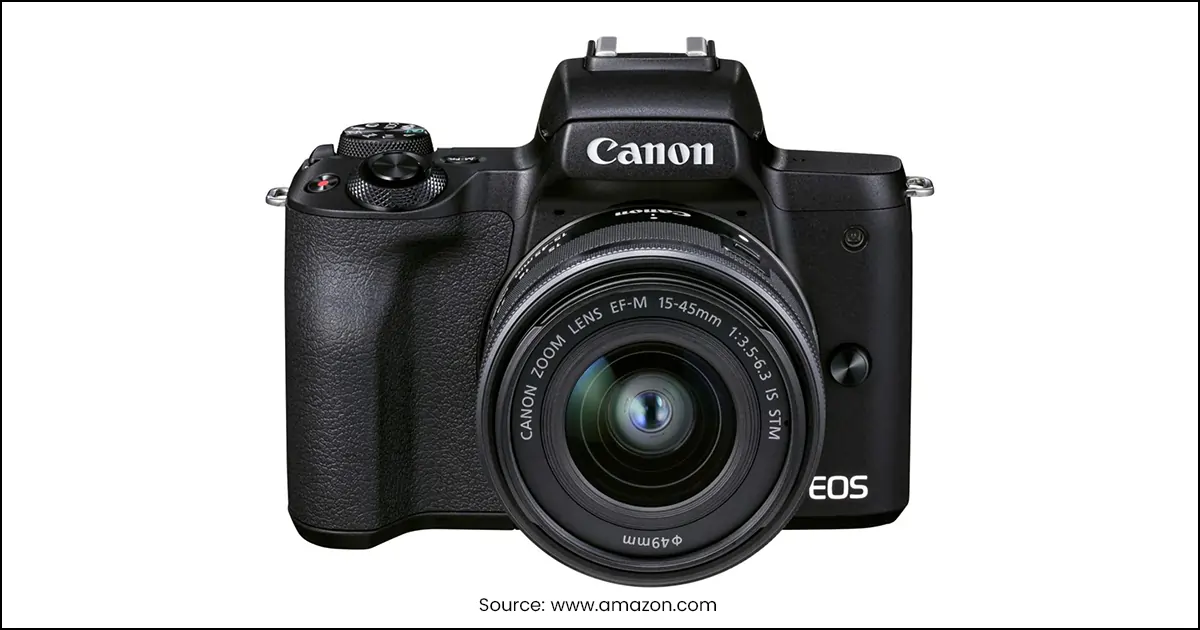
(v) Canon EOS M50
The Canon EOS M50 is not an advanced-level camera. That is already a good side thinking of its capabilities. This is an entry-level friendly mirrorless camera, with a fully articulating touchscreen. This is the first canon that uses the new CR3 format, which includes 1080/60 p.
- Type: Mirrorless
- Pixels: 24.1 Megapixels
- ISO: 100-6400, expandable to 51200
These cameras are suggested based on their function and features. Specially on their ISO range and the quality of the pixel. If you have a better or similar camera that will have a similar result then you can go for your camera.
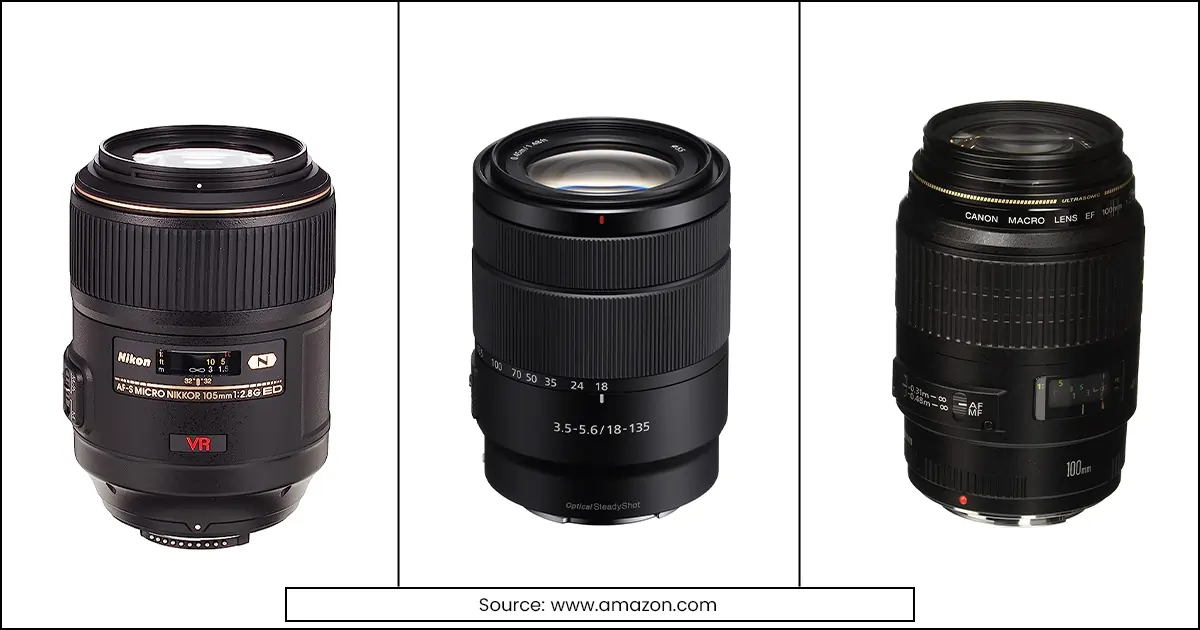
2.Get Macro lens - 105 MM Macro
A camera is not enough for Gem photography. Photographing gems is like photographing diamonds. Gems are usually small in size, have very different and mesmerizing colors and sometimes also have a unique and beautiful pattern on them. They needed cameras that would capture and frame these details of a gem. But most of the time that is not possible with just a camera. They need more than just the camera. And here is where the camera enters the room.
A camera comes with a maximum 17-55mm inbuilt lens. But when you think of capturing any sparkling strong or capturing the true color of a gem then you will need a macro lens with a minimum 105mm macro lens. Know which is the perfect camera lens for shooting your gems. The lenses that are above 105mm micro lens like Nikon’s Micro-NIKKOR (105mm lens), Sony 18-135mm Zoom Lens, The Canon EF 100mm f2.8 Macro USM, and so on.
3.Tripod- Hold the Camera Still
Tripods for Gem photography don’t need to be that fancy. You will need a tripod to keep the camera in place. To avoid any kind of blur and shake from the image. So, to achieve that crisp sharp image of the gem grab a tripod and stabilize the camera. Make sure you set down your tripod on a solid and straight surface.
Even though I’ve said, you don’t need any fancy tripod for this photography. I never said that this is any less important part than the camera, lens, or any other equipment. This is an unavoidable part of photography. Gem photography, jewelry photography and any other photography that has to deal with clear pictures will need a tripod for their photography. That will make sure the picture will be steady and focused.
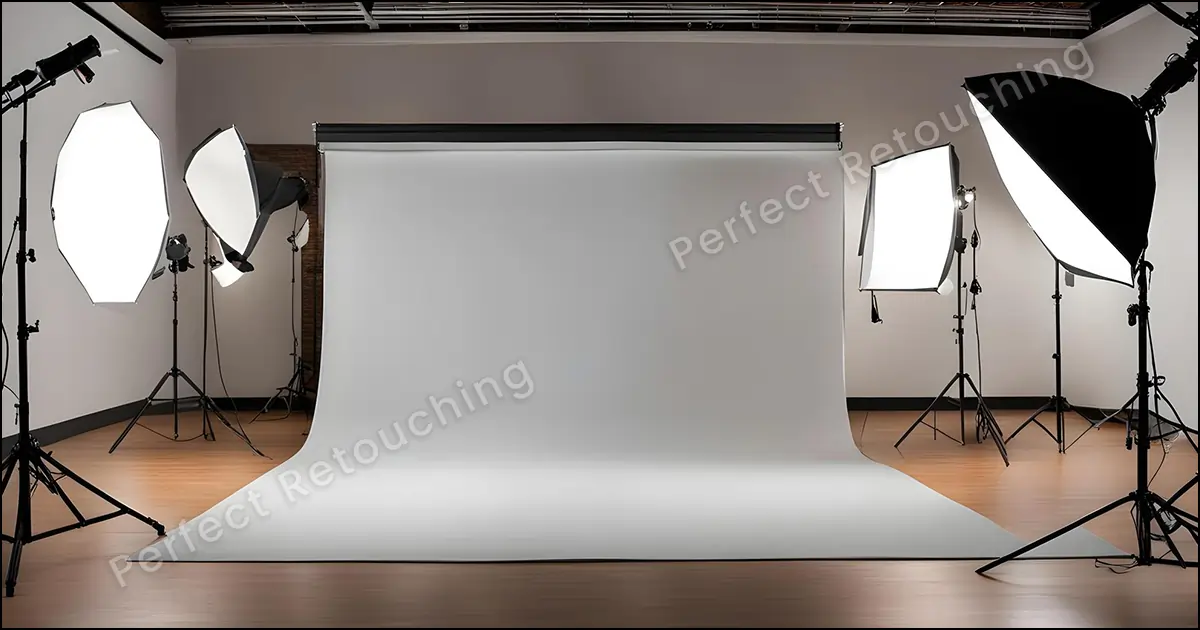
4.Light- Just the Perfect Amount
Professional Photographers often need heavy lighting in product photography. Especially in the case of clothing and fashion photography. But when it comes to anything near jewelry that can be reflective, shiny, or has sparkles on it then heavy lighting can distract their beauty. Yes, you can shoot your jewelry in natural lighting. Outdoor ideas will work as well but do you think that will bring a professional look to the scenario? Trust me, that won’t do so. So, what’s the solution? Here is the solution- We will need a proper lighting setup just for the gem photography. Lighting is done for the exposure. Exposure is the amount of light that reaches the camera's senses. The exposure mainly depends on the exposure triangle. The Iso, aperture, and Shutter speed. The lighting setup needs to be specific keeping exposure in mind. Only a big studio light won’t help in this case. We need more equipment for this step.
Light Stand – Work comfortably
You can skip this. But a light stand will make your work way easier. You won’t have to face any issues of keeping the light in a stable position or taking a stable photo for gemstone photography.
Softbox- Dimmed the Light
Since, direct light will destroy your Gem picture and no lighting won’t do the magic then what is the crack? A softbox is a crack. You will need a softbox or a lightbox to reduce or decrease the harsh light of the flashy lights. You can crack the game of lightbox/softbox, you will get to best show gems.
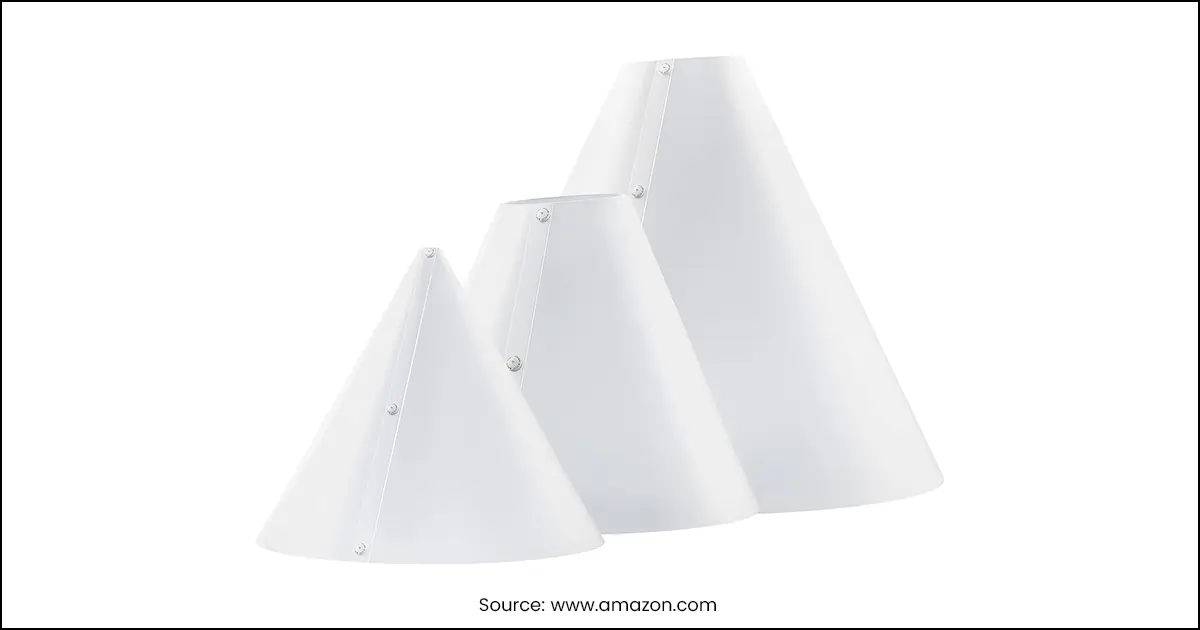
Light Cone – Frame Only Gem
A light cone is the best solution for all the above issues. If you don’t have the light cone, you can also use the translum paper to make a light cone by yourself. What is a translum paper? A translum paper is very similar to a see-through paper but way thicker. It is used for photoshoots of jewelry, kitchen appliances, and anything in metal or even any reflective object.
In lighting for jewelry photography, specifically in gem photography, you can place your Gem inside the light cone and Put lights from the outside. It will dim the flashes and also reject any kind of reflection.
5.Backdrop and Back Stand to have a Classy Look
Backdrops are a game-changer here. If you are using a light cone then your table will be your background or if you use any display to present the gem then that will be your background. Other than that, you can white, gray, black, or any complementing color that might suit your Gem color. If you are using a jewelry stand for gems then you will probably need a background stand to hang the backdrop.
6.X-rite Card to Develop the Perfect Picture
A gray card is necessary for the post-processing of photography. The Gray card helps to set the perfect color of the gem. To ensure perfect color contrast photographers use gray cards/X-rite cards. There are tons of gray cards in the market. Gray cards are usually very handy and easy to carry around. You just have to take a picture of the card after doing the camera settings and before the shoot of the gem, take a picture of the card. If you change the camera settings at any time then remember to click the card’s picture as well.
These were the basic equipment that you will need to start the photoshoot by yourself.
Photo Post-Processing of Gem Photography
Gems are not easy to photograph. Also, it is not easy to edit a gem photo. And it’s not everyone’s cup of tea. So, for this part, I suggest you hire a professional photo editor to do photo post-processing work. You would probably want a photo post-processing company that does a top-notch job at a reasonable price. Jewelry photography as well as jewelry photo editing job can be a critical job. That is the main reason why jewelry photographers and jewelry photo editors charge more compared to any other photographers and photo editors.
To be on the safe side, choose a photo editing company that already has a reputation and knows the market pretty well. Reasonable price and best quality. And looking at the requirements I suggest you have a look at Perfect Retouching which provides the best kind of jewelry retouching at the most reasonable price. So, do check them out, and give wings to your business.
Packing Up With
Hopefully, this blog has helped you to some extent. You can try to do gem photography just like jewelry photography by yourself now. I’ve tried to cover A-Z information about jewelry photography. Starting from the roots to how to get to the details. So, go get your setup, grab your camera, and jump into the field of professional jewelry photography.


