 English
 Arabic
 Danish
 Dutch
Dutch
 Finnish
 French
 German
 Hebrew
 Italian
 Japanese
 Norwegian
 Polish
 Portuguese
 Spanish
 Swedish
 Russian
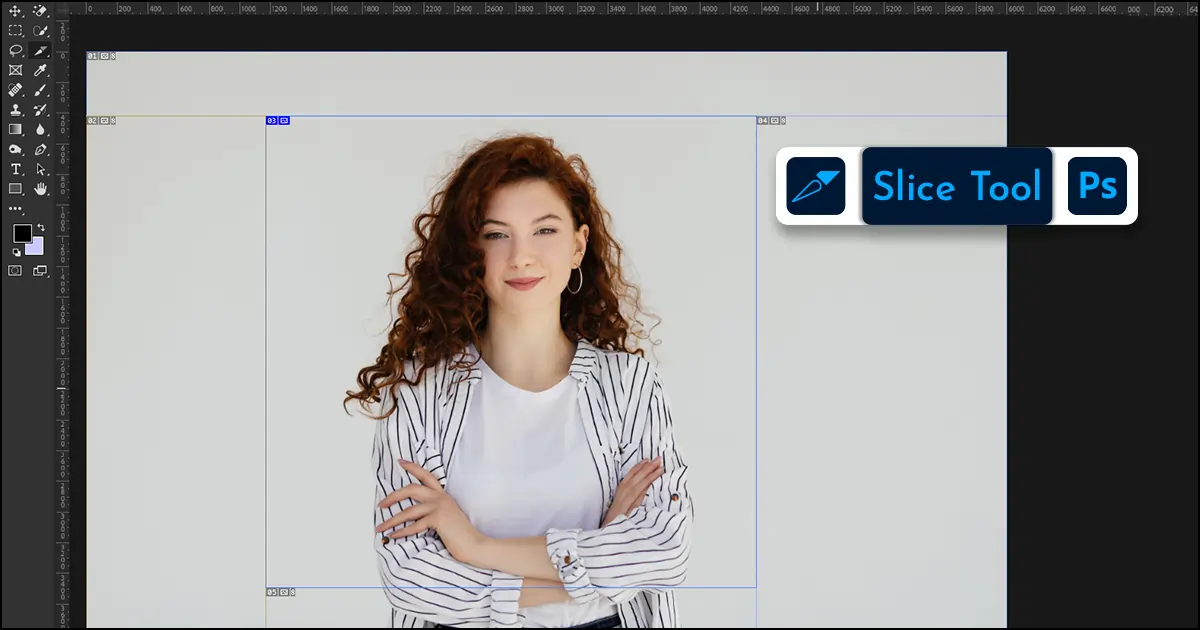
How to Export Slices in Photoshop (Separate & Multiple)
Suppose you have a large image file and there’s a specific part you need to save. How do you cut and export it without damaging the other areas? Using Crop Tool or Lesso Tool? Since you are here already, let me tell you an amazing way. If you want to slice image in Photoshop into smaller files and can export any divided parts, use the Slice Tool. I will tell you two ways how to export slices in Photoshop and save separate and multiple sections together.
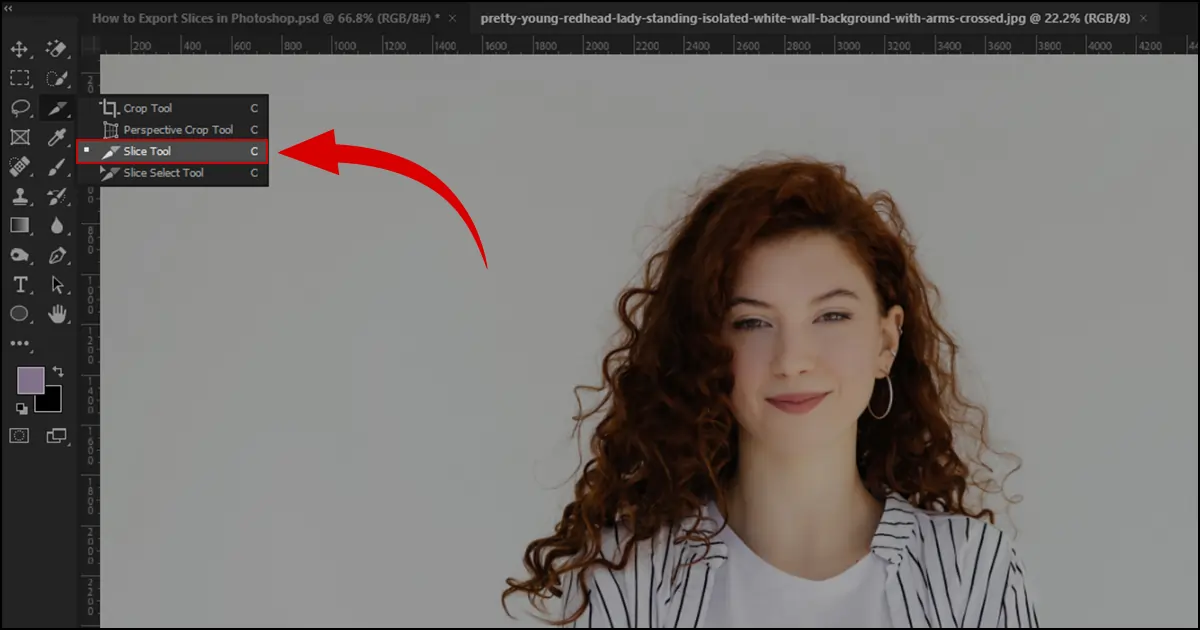
Where Is The Slice Tool in Photoshop?
You can not directly find the slice tool in the toolbar to make basic photo edits. Right-click on the Crop Tool and choose the Slice tool from the appeared options. You can also use the shortcut key ‘C’ and the Slice tool will be automatically selected.
How to Export Slices in Photoshop: Easiest Method
Many people do not know about the slicing Photoshop tool. However, it is a handy tool for slicing up images in various shapes. Let’s see two ways to export slice in Photoshop.
How to Slice Images in Photoshop: 2 Ways
First, let’s see the image-dividing process using the slice tool. However, in both processes make sure you duplicate a layer to keep the original file safe.
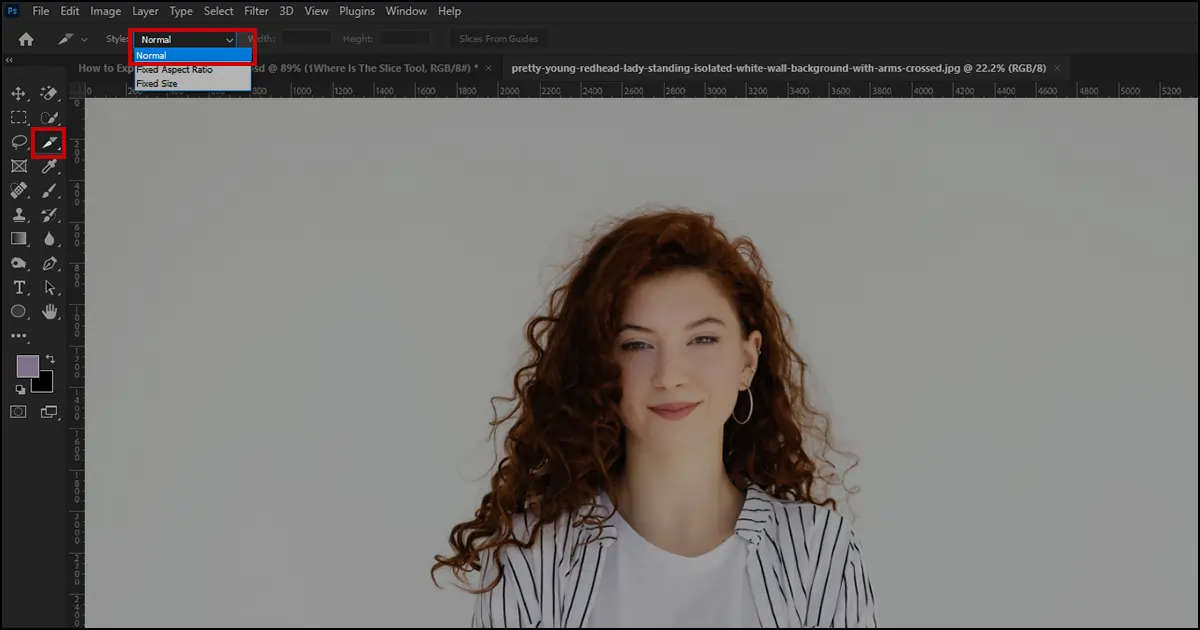
1. Manually Slicing
Choose the Slice Tool. Go to Style, click on the arrow, and choose ‘Normal’ from the options.
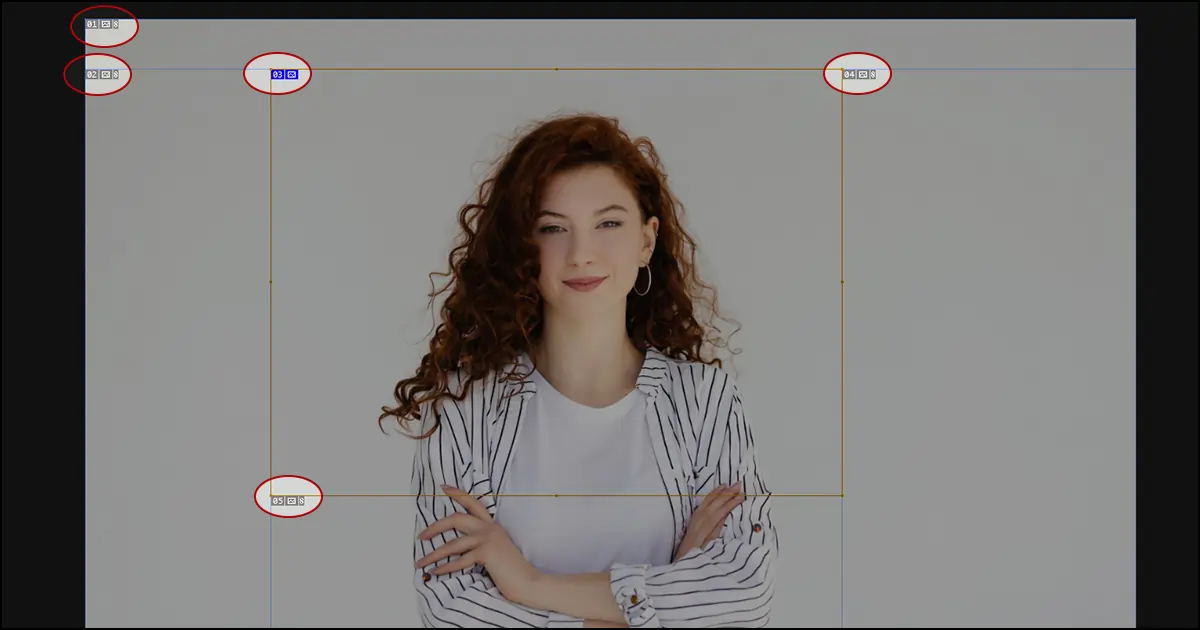
Draw your crop on the section you want to slice. The manually sliced part is tagged with blue and the rest of the image will be filled with grey auto-generated slices. Depending on the image size, the auto-generated slices will be created like 3,4,5, etc. Also, if you zoom in and check, you can see that all the slices are numbered. If you know how much you want to edit jewelry photos, try this method. You can manually crop any part however you like and export it.
2. Divide in Layers
If your artwork is in different layers, you can slice up the sections based on layers.
- Go to the layers panel- Select the layer you want to slice in Photoshop- Select Layer from Menubar> New Layer based Slice- Your selected layer will be sliced.
- How to understand if the layer has sliced up or not? If you see the blue line appear on the layer, you are good to go.
- If there are more layers you want to divide, follow the same method.

How to Save Slices in Photoshop
Are you done slicing in Photoshop? Then it is time to save/export slices in Photoshop. You can save the slices separately or multiple parts at once.
How to Photoshop Save Slices as Separate Images
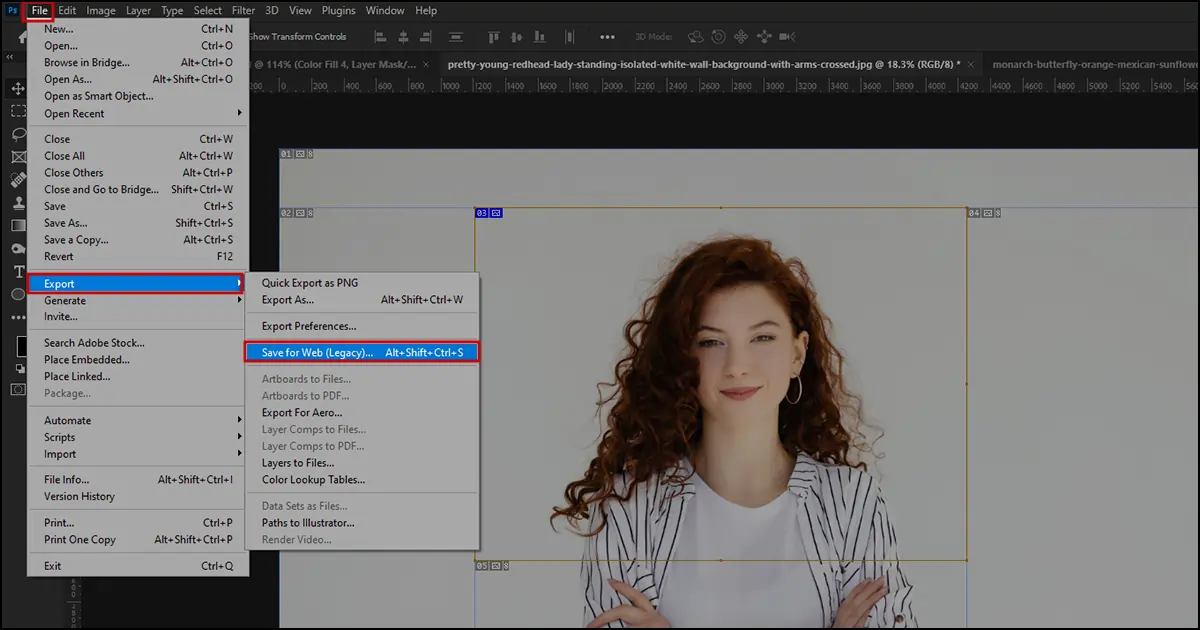
Click File > Export > Save for Web.
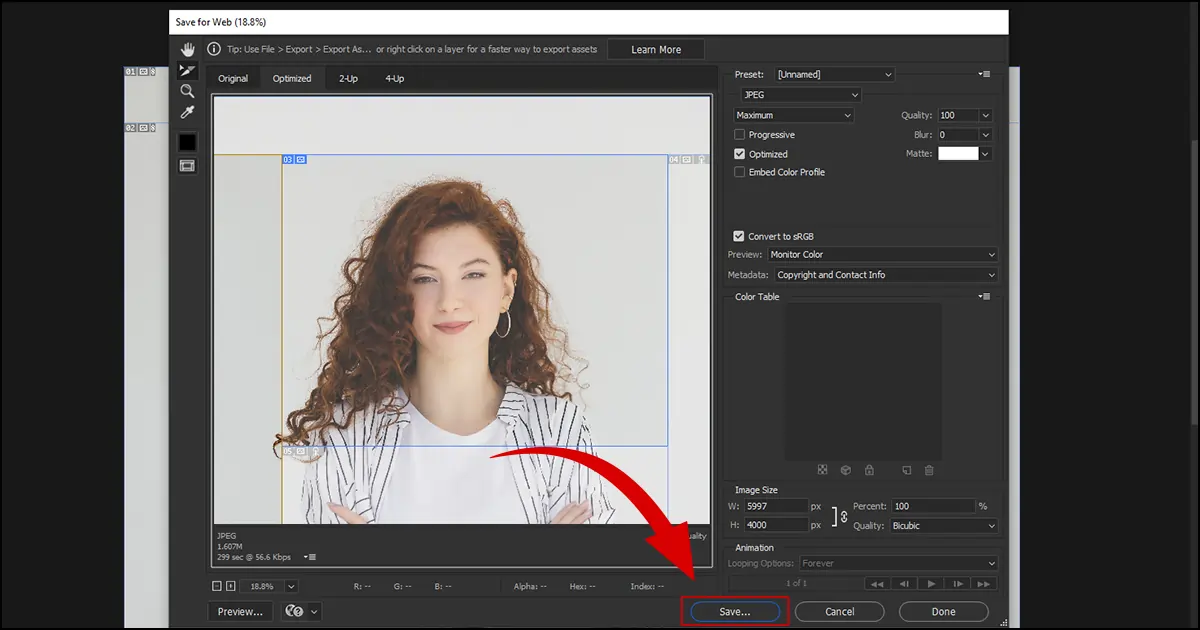
A Save for Web Box will appear. The image slice will appear highlighted. If you want to export the highlighted section. Click Save.
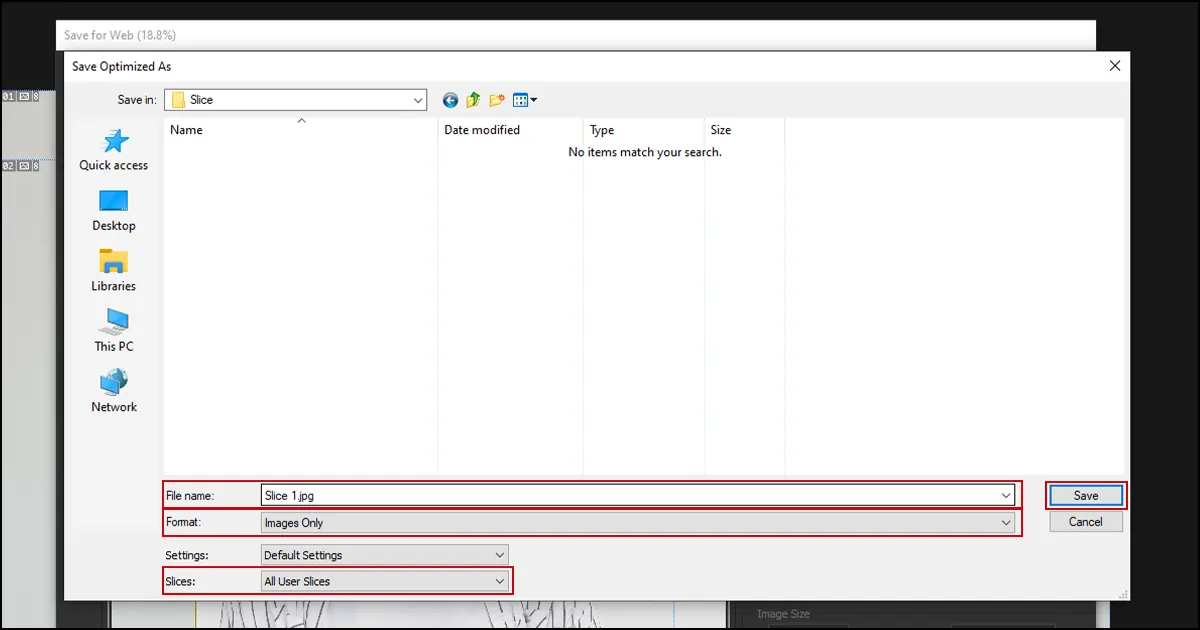
Another box will pop up named Save Optimized As. Write the File Name. Set the Format to “Images Only” and Slices to “All User Slices”. Click Save.
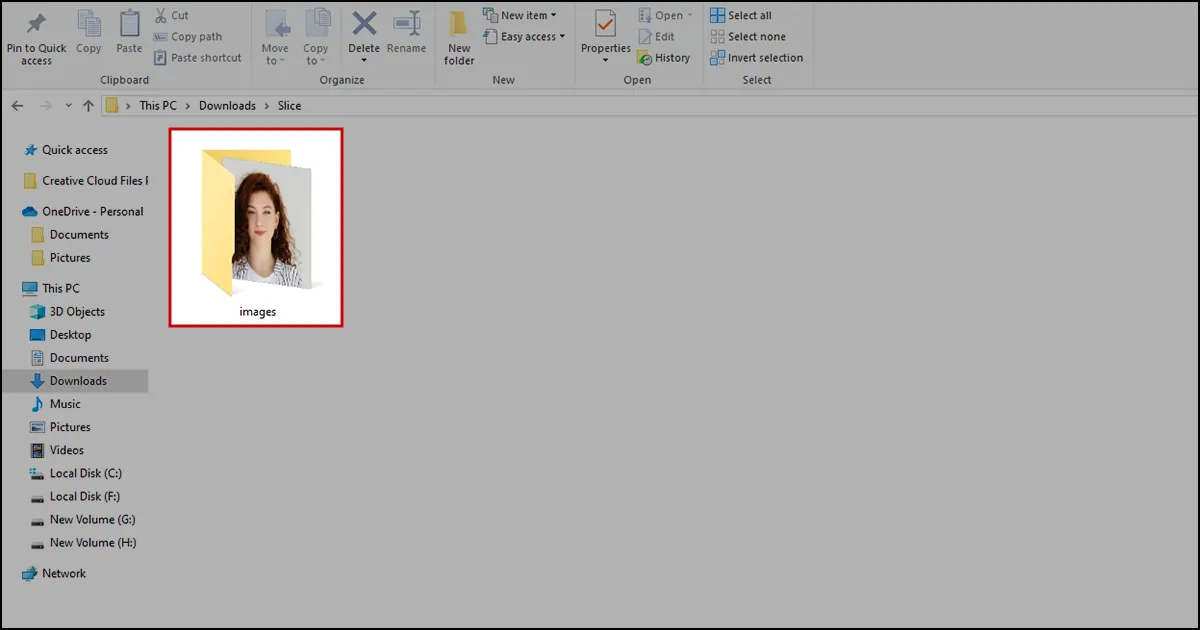
The exported image will be saved to a folder. When you double-click it, You will find a separate image.
How to Export Multiple Slices at Once
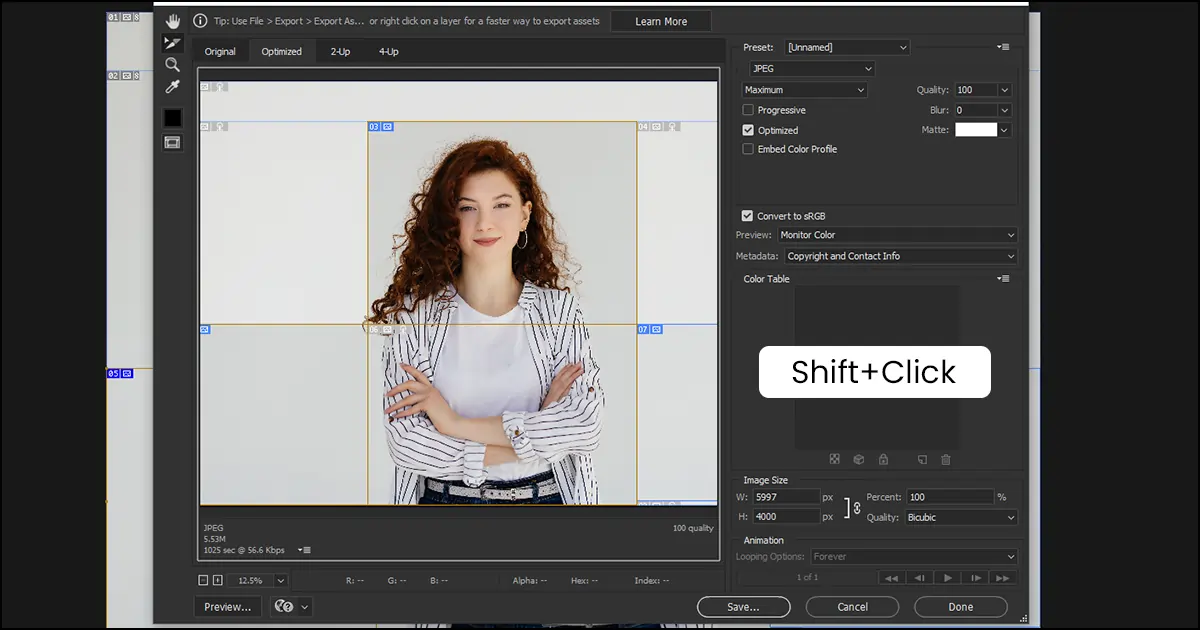
Choose File > Export > Save for Web. The Save for Web box will appear. First, click on one slice. Then click & hold Shift + click on the slices you want to export. All the selected slices will be highlighted. Click Save.
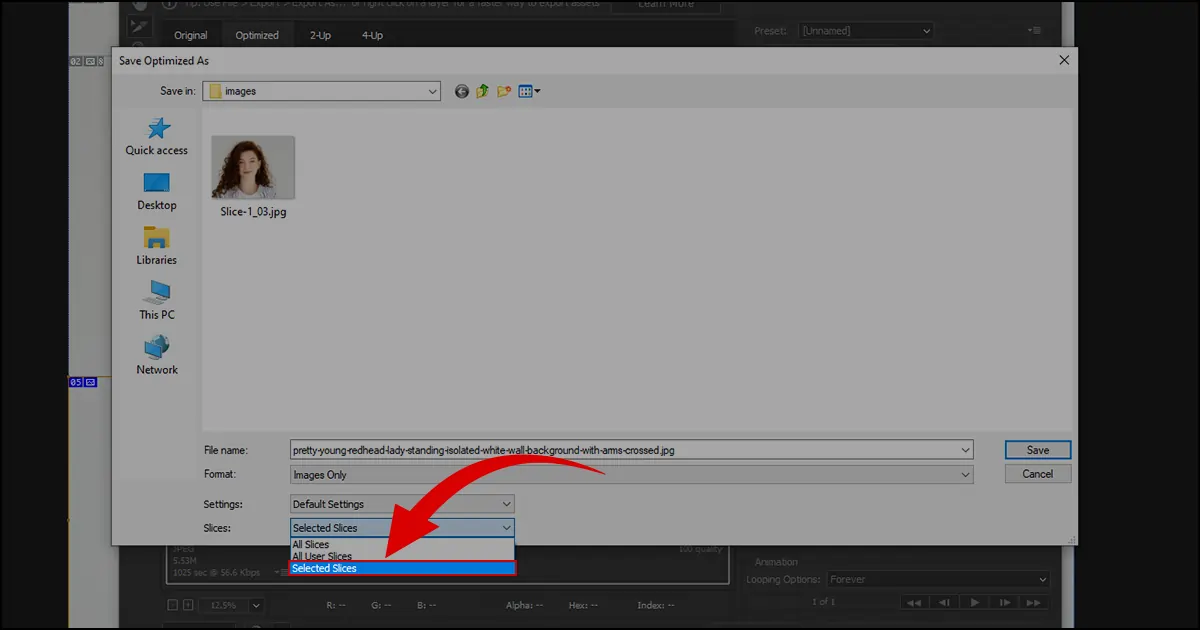
Write the file name like "Exported Images", Format- Images Only, and Slices- Selected Slices. Click “Save” and all the selected slices will be saved in a file format.
Finale
Were you able to slice and export images with our how to export slices in Photoshop tutorial? It was easy, right? Whether you are a product, headshot, jewelry, or any other niche photographer, slicing images in Photoshop will always help you reduce file size and save specific parts you need. You can also send the cropped file to clients as a sample. Thus, practice slicing images with the slice tool and you can soon remember the process without looking at the tutorial.
Lastly, if you need professional help slicing or retouching the image altogether, Take our Jewelry Retouching Services. We always deliver images in a top-notch form that your clients will love. You do not have to believe my words. Take our free trial and check the quality yourself. Take Care!


