 English
 Arabic
 Danish
 Dutch
Dutch
 Finnish
 French
 German
 Hebrew
 Italian
 Japanese
 Norwegian
 Polish
 Portuguese
 Spanish
 Swedish
 Russian
How to Take Pictures of Clothes to Sell Online Like a Pro
Pictures are your No.1 key feature when it comes to selling clothes. It helps the customers visualize how they would look in the dress. Hence, having high-quality detailed cloth photos is mandatory to make the audience stop & look at your photos. However, in order to take flawless photos, you need to make some preparations. You need to set up the equipment and take photos based on your theme. So, read this article to learn how to take pictures of clothes to sell online.
5 Easy Steps to Take Pictures of Cloths to Sell Online
Taking clothes pictures is not very hard, as the equipment you will need to take the photos is readily available in any store. And the process is also very easy to follow for anyone. So now, let’s see how to take pictures of clothes to sell online flawlessly on your own.
1. Equipment for Photographing Clothes
These are the equipment you will need to take your clothes photos.
Light Sources
Any type of lighting is good for taking clothes pictures. Hence, you can use both natural and studio lighting according to your comfort.
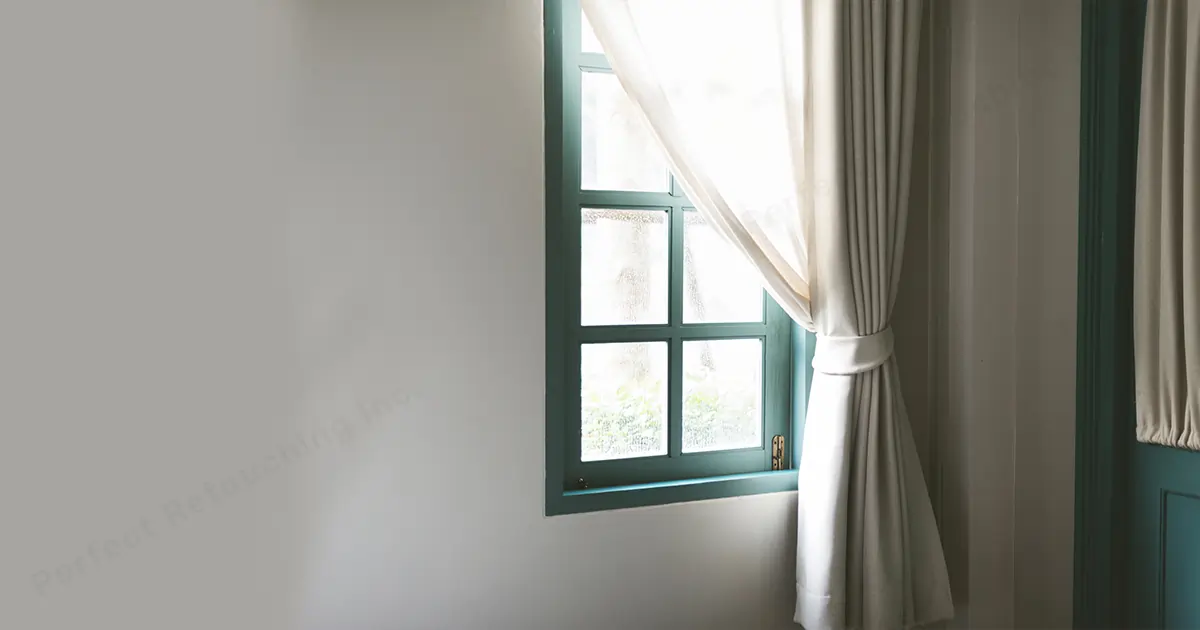
Natural Lighting
In my opinion, the best way to take pictures of clothes is by using natural light. Why? Because it gives a natural touch to the clothes. You just need to take photos on a bright sunny day beside the window. Use an empty wall or the floor where the light is properly coming. As long as the sunlight is directly brightening the room, you are good to go.
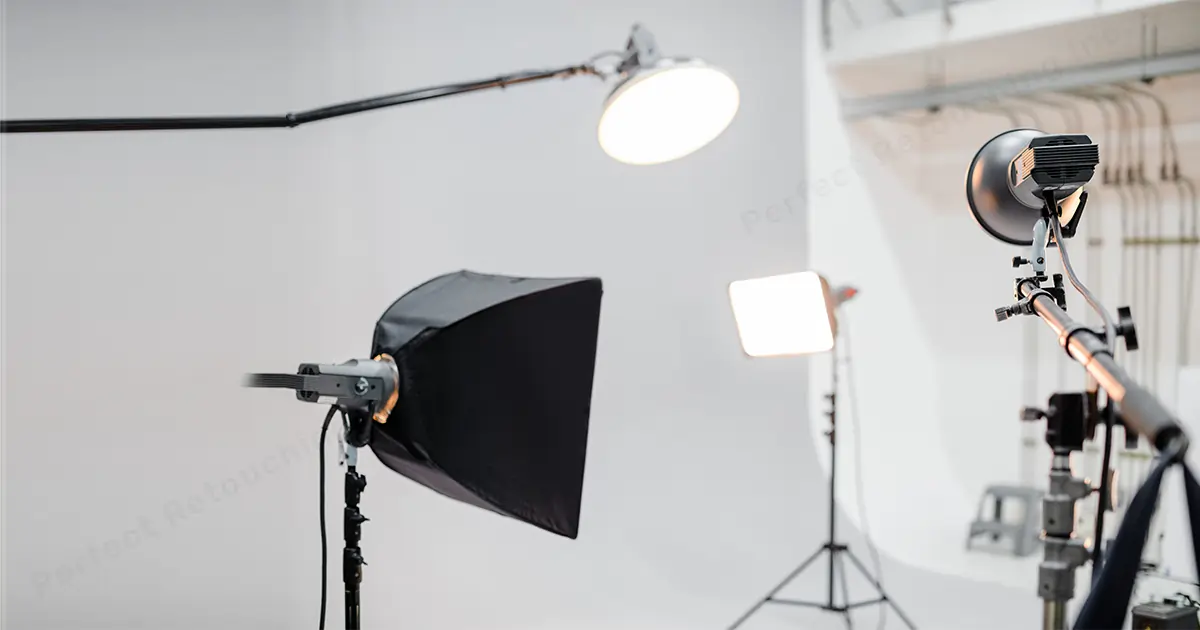
Studio Lighting
When it comes to using staged lighting, you need to use it in a way that it naturalizes the cloth photos. Now, how to take good pictures of clothes in studio lighting? Place the box lights at a 45-degree angle beside the clothes. You can also use a ring light to take photos. Place the ring light behind the camera to fully center the item.
Camera/Phone
You can use both a camera and a phone to take cloth photos. If you are using a camera to take photos, you can use both mirrorless and DSLR cameras. However, as mirrorless cameras are lightweight, easy to handle, and have a high speed for taking continuous photos, it is good for both type of lighting. DSLR camera is a very good choice for taking cloth photos in studio lighting.
If you are using a phone, use three-grid mode to take cloth photos. Three-grid mode helps you take sharp, nice angled, and on-focus photos of the clothes.
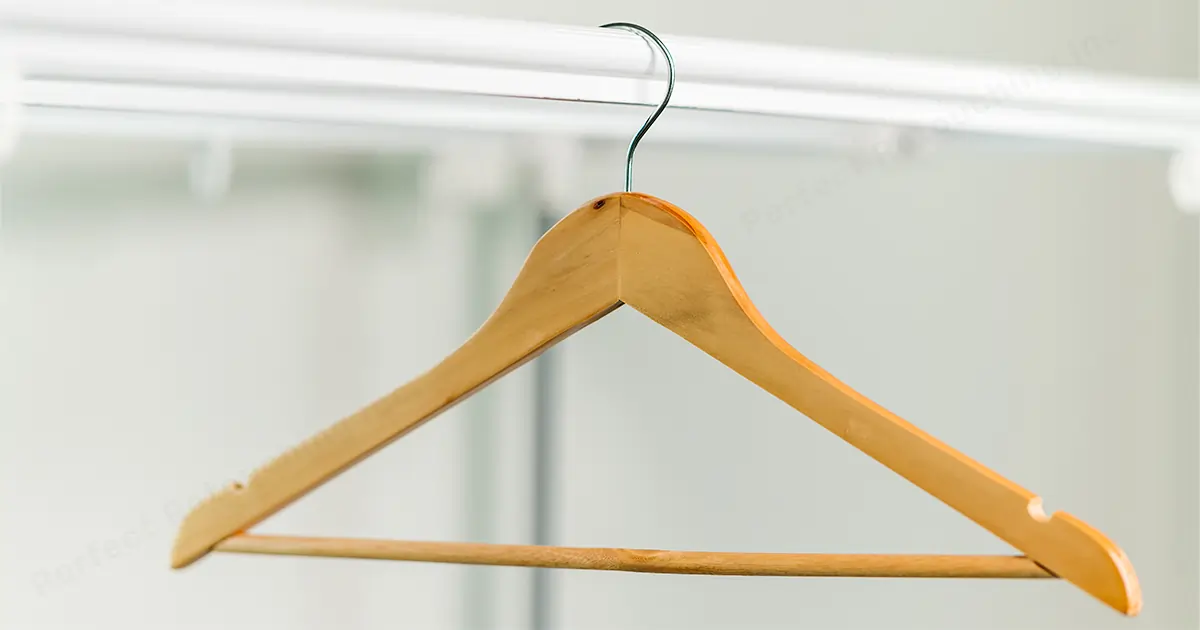
Nail/Command Hook/Wooden Hanger
For taking cloth photos on the wall, you can put a nail or command hook to set a hanger in it. Do not use colorful hangers or free hangers from the store. Rather, buy a nice wooden hanger to take photos. It may look simple but it gives a nice fancy vibe to the hanging cloth.
Streamer/Dryer/Lint Rollers
Use a streamer or dryer to make the clothes wrinkle-free. And after placing the cloth in the photography position, use lint rollers to make it neat and clean.
Measuring Tapes
Keep the measuring tapes to measure the sizes of the clothes. Later, it will be helpful for you to put the sizes in the description or on the photo.
White Foamboard/ White Background
A white foam board helps reduce the harsh shadows and take photos on the floor. On the other hand, a white background is a very useful tool for taking photos on the wall, with a mannequin and model. If you take photos using a white background, you will have an easier time editing the photos.
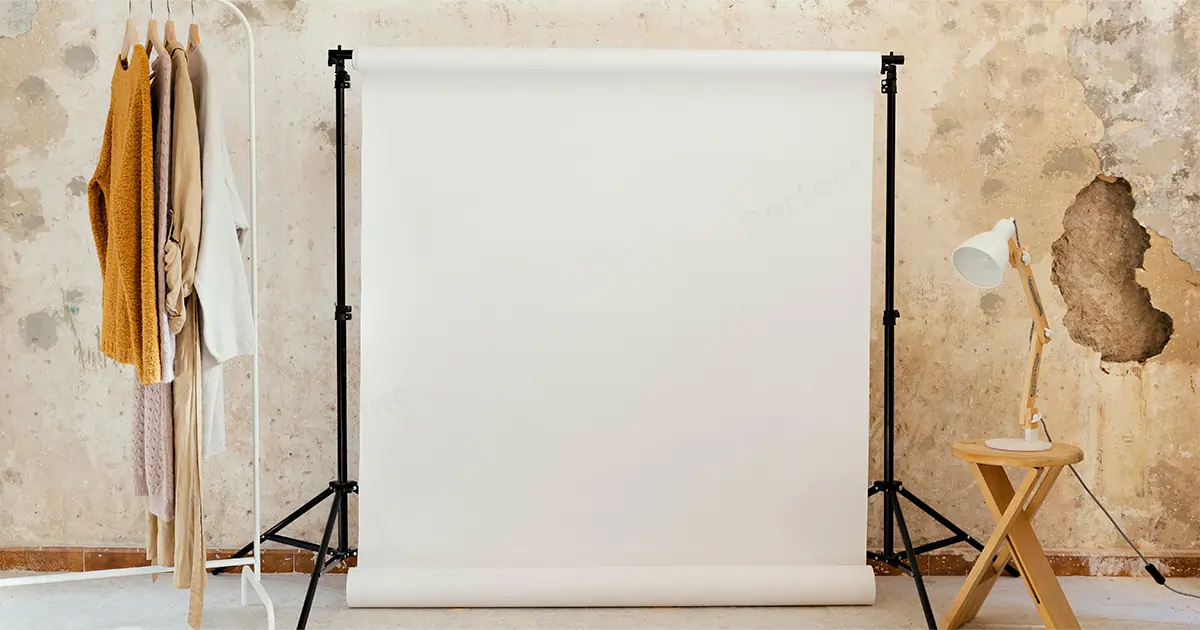
Wall/Floor/Mannequin/Model
Based on the way you are taking the cloth photos, you will use these. You can use a wall or floor if you simply want to take photos of the clothes. However, if you want to up your game, use a mannequin or model.
2. Prepare Your Clothing
Clean and wrinkle-free clothes help attract potential customers. Hence, you need to make your clothes completely neat and straight before the photoshoot.
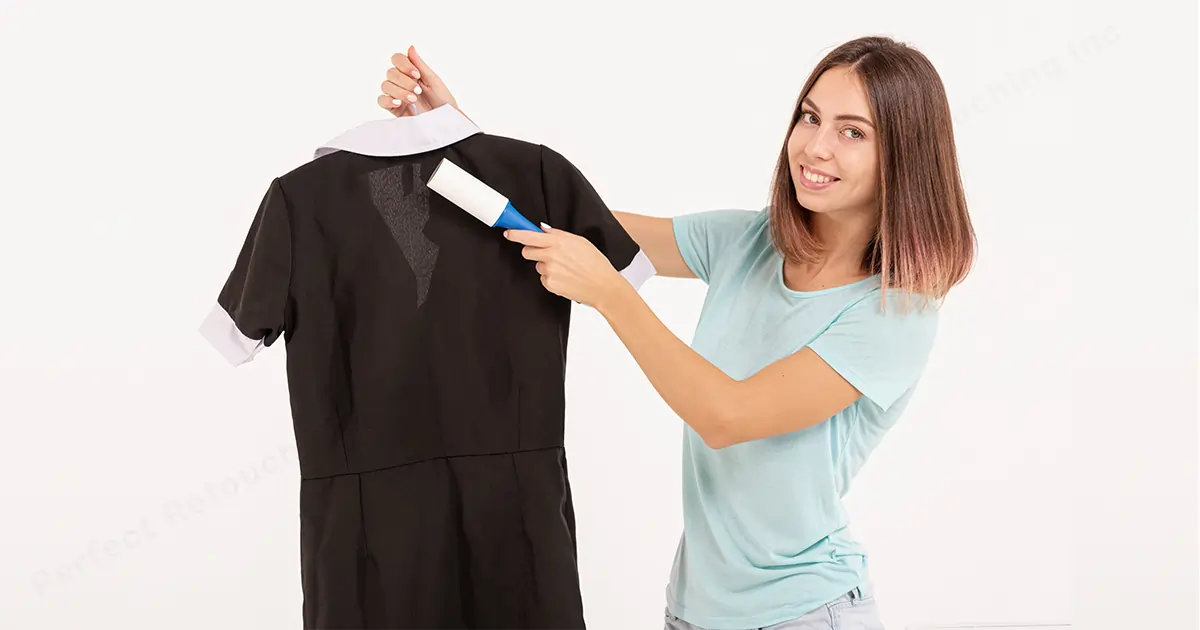
Pet Fur/Dirt/Dust/Threads/Stains
If clothes are already cleaned and dried, just use lint rollers to remove any pet fur, threads, dirt, and dust. Also, if there are any stains, use a stain remover pen or wash it with gentle dish detergent in warm water.
Wrinkles
If there are wrinkles in the clothes, stream it. However, do not stream it without distilled water. Add distilled water to the stream, heat it up for 1-2 min, and run your streamer up and down over the clothes. You can also put the clothes in the dryer for 7-10 minutes to make them wrinkle-free. Then you will not have to stream them or iron them.
3. Photograph Your Clothes
You can photograph the clothes flat-lay style, with a hanger, mannequin, or model. Also, to give a better view of the clothes to the customers, you can use 360° video or all-angle photos.
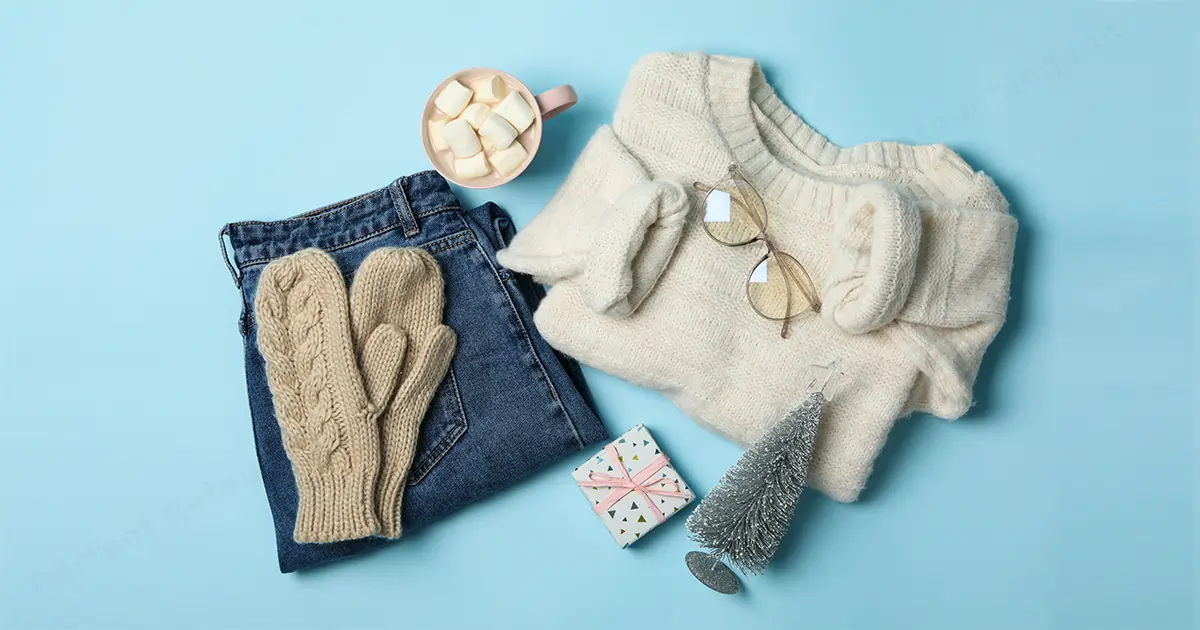
Flat Lay
Flat laying photography gives a natural and home feeling. If the pictures are taken right, the customers will be able to feel the usage of the clothes. The fun fact about flat lay style is that you will not have to spend much money on it.
If you are using natural lights, you can just take the photos on the bed or wall beside the window. And if you are doing photography in a studio, set the lighting kit beside the table keeping the cloth in the center.
For both types of light sources, just use some nice props, decorate your clothes, and give a nice message with your decorations. For example, if you are selling clothes for winter, portray a relatable wintery familial message with it.
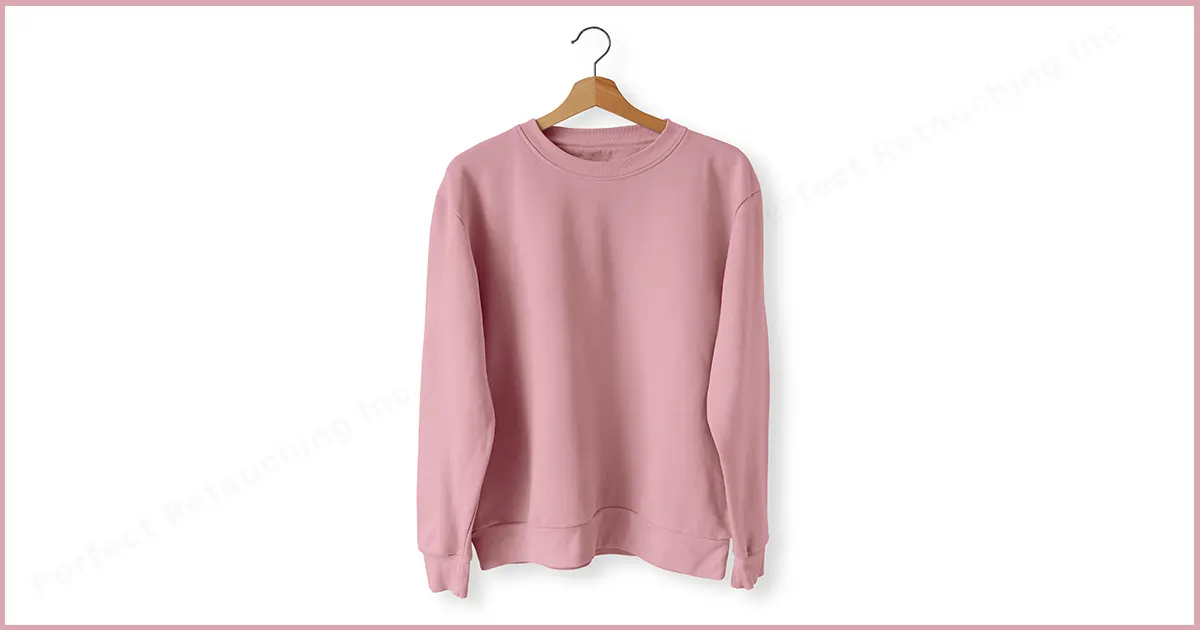
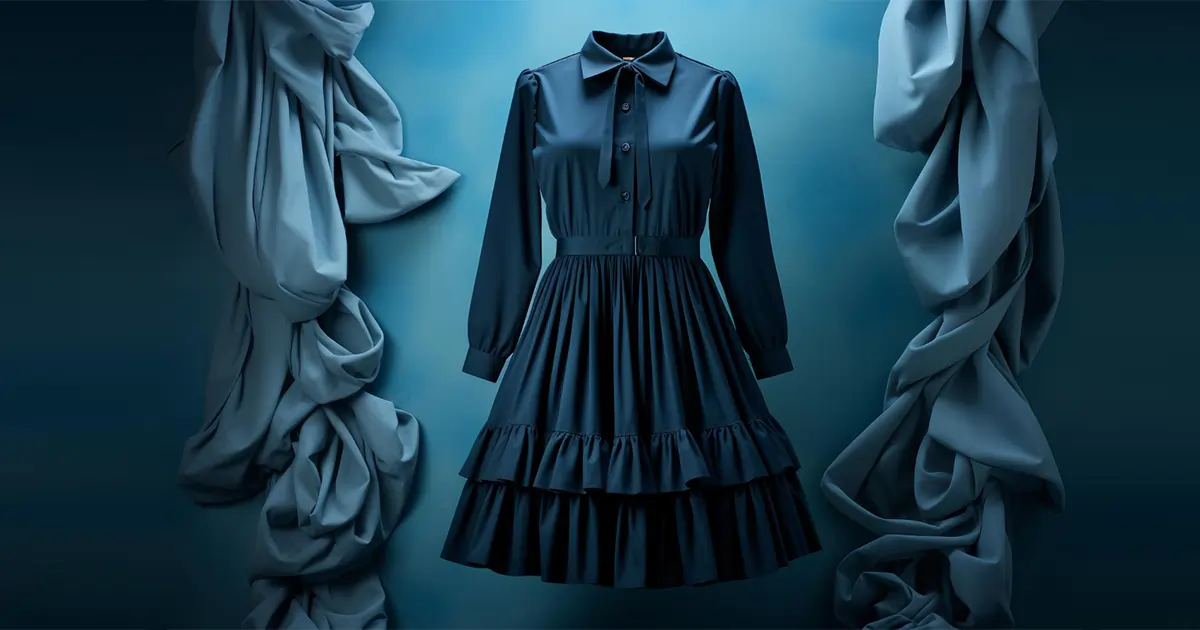
Hanging the Clothes on a Blank Wall
Just like Flat lays, using a hanger to take photos is easy and cheap. You just need to find a blank wall beside a well-lit window. If it is white, it’s perfect. But even if it is not white, it will work as you can remove the background while doing product photo editing.
The process-
- Put a command hook on the wall.
- Place the cleaned cloth on the wooden hanger. If the clothes are shirts, use simple wooden hangers. And it is pants and dresses, use wooden hangers with clips.
- Then, stream it if it has wrinkles in it.
- Take photos keeping the subject in the center. However, do not just take photos of the cloth, take the surroundings as well.
Note: If you live in a rented house or do not want to damage the wall by nailing on it, use COMMAND HOOK. You can easily stick it and take it off of a wall.
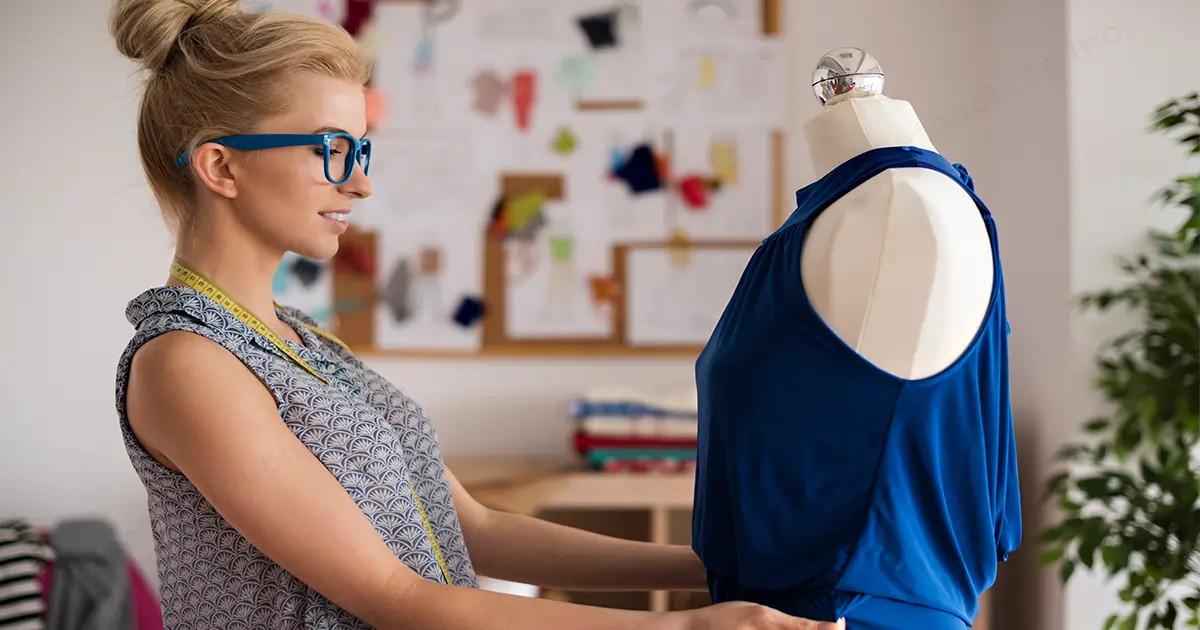
Mannequin
Now, we are going from cheap to expensive. Buying a mannequin will be a bit more costly as they come in all shapes and sizes. I do not recommend using a mannequin for selling clothes online because of its unrealistic vibe. However, mannequins are good to show the customers their fitness and shape. They are also less costly than a model hence, you can take as many shots as you want from any angle.
Also, while ordering the mannequin, keep the clothes measurement in mind. If it does not fit, use pins and tapes to fit the ghost bust.
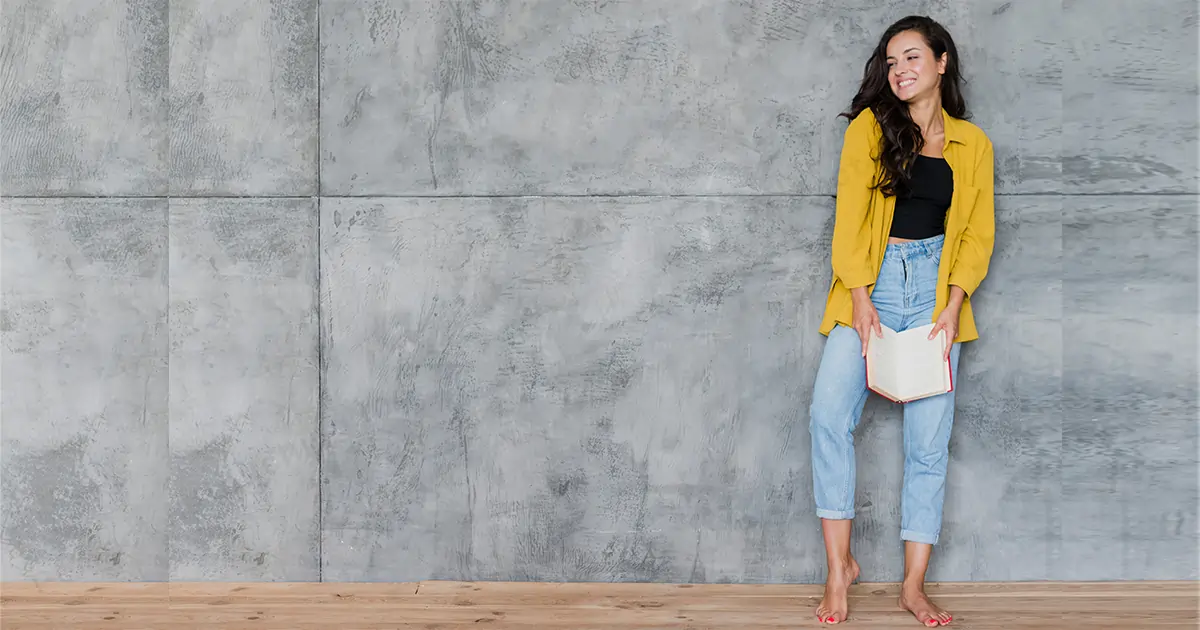
Model
If someone asks me to choose between a model or a mannequin, I will choose a model. Though they are more costly, they give a very realistic vibe. Their portrayal of the style shows how the customer would look wearing the clothes. If the clothes are for casual wear, party wear or office wear. Though hiring a model would be costly, if you have the budget, hire them. Because later all the money will come back through profit. Keep in mind, that customers always like to see a reference before buying a material.
The Process-
- Create a setting relevant to your dress theme or choose a location to take the image.
- Make the setting as realistic as possible so that customers can relate to it. For example, if your target audience is college students, make a scenario like that to promote the dress among students.
360° Rotating Video or Multiple Images
Nowadays 360° rotating videos are quite popular in E-commerce because of their demonstration of the full product. As all sides of the item can be seen in the video properly, the potential customers can see its size and shape properly from all angles.
It may look hard but it can be easily done with a Turntable. However, buy a turntable that can hold the model’s or product’s weight. Put the turntable in the middle and place the studio lights beside the turntable. Plug the cable and remember to edit the Turntable in post production. If you can only show the product in the image, it looks good.
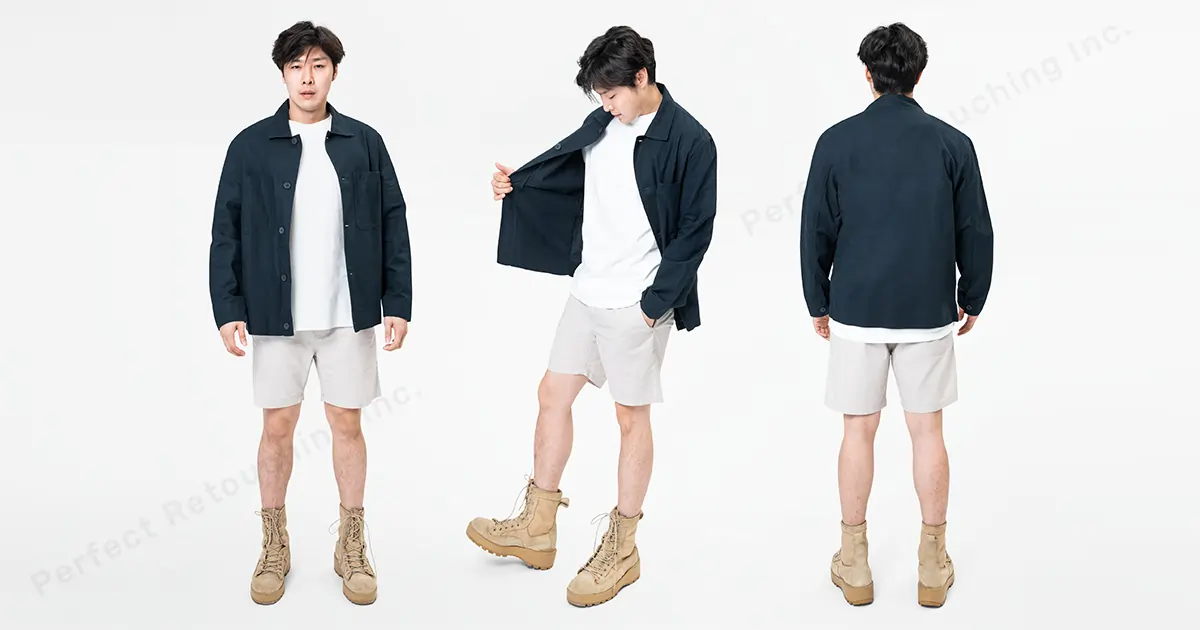
However, if you can not do a 360° rotating video, you can also take images from multiple angles to show the complete picture of the cloth. Take at least 5-6 images of one product. Take one photo keeping the cloth in the center with the surroundings. Take a close-up picture, a faraway picture, a front picture, and a back picture, and take pictures of both tags (fabric content and laundry care tag).
Note: Tag pictures help the customers know fabric details and how they can take care of the clothes.
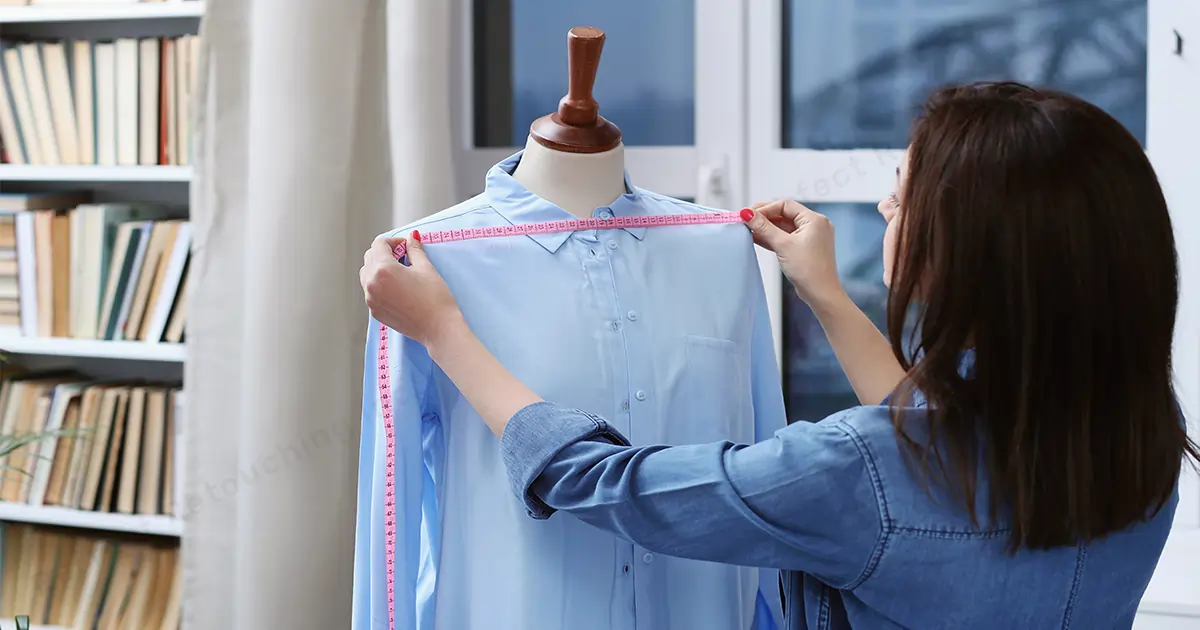
4. Take Measurements While Taking the Photos
While ordering the clothes, the clients can ask about the measurements. And if you do not reply to the information quickly, they may leave. So, to make your life easy, take the measurements while capturing the images. How to measure the clothes?
Tops, Jackets & Vests
- Pit-to-pit measurement. Take measurements from one armpit to another armpit.
- Shoulder to hem measurement. Take measurements from shoulder to bottom.
Pants
- After clipping it on the hanger, measure the waist then double it. For example, 12 inches and double it to 24 inches.
- Inseam measurement. Take the measurements from the crotch to the bottom.
Note: Take the images with measurement tape so that you can just find the images when the client asks or send them to the client.
5. Retouch Your Cloth Photos
Whether you take the images in natural light or studio light, you need to give them a final retouch to make them flawless.
- Look for wrinkles. Even after all the streaming and drying, the camera may capture some wrinkles in the clothes. Hence, zoom the image to see and remove any wrinkles.
- Remove the Background. If the background is not highlighting the cloth’s color and features, change the background color. Many online stores prefer white backgrounds so based on your client's preference use white backgrounds or colored backgrounds.
- Fix the lighting and shadow. Because of the lighting, the cloth color may change or may look faded. So, adjust the lighting to get the original dress color. Also, if the shadows look harsh, make them soft & natural.
- Recolor the cloth photos. If you have the same design cloth in different colors, do not do extra work and just recolor them in Photoshop.
- Remove the Ghost Mannequin, clip, and tape. In order to make the clothes more attractive, remove the ghost bust. However, keep the shape and real size maintained. If you have used any clips and tapes, edit them as well. Only the clothes should be on display.
- Do Shadow play. Natural shadows beautify the clothes and give an authentic feeling.
- Resize the image based on social media/website format. Every social media has a different image format. For example, Instagram posts 1080×1080. If your image is smaller or bigger than this, it will get cropped. Hence, follow your uploading site format and crop the images.
Note: To know more about product photography mistakes, check out this blog - Common Mistakes in Product Photography.
Conclusion
Whether you are starting a new clothing business or reselling clothes online, you can use the stying methods from above to sell your clothes. The good thing about clothing photography is that you do not necessarily need a camera. You can also take images with your Phone perfectly. Hope this tutorial on how to take pictures of clothes to sell was helpful. All the best for your clothing business.


